


Hello there! My name is Maggie. I am currently a student in Sustainable Agriculture and Food Systems at Trent University. I am interested in sustainable food production, food systems and issues surrounding food sovereignty. When I heard that there may be an opportunity to do a placement internship at Nourish this fall to do research about canning, I was so excited! I’ve always had an interest in home food preservation and the ways that we can extend the local food season into the winter. But I was also nervous! I was coming from a place of almost no knowledge about the subject, I had never canned anything in my whole life and had very little exposure to it at all. Luckily, I think that this kind of gave me a good perspective on being able to find truly helpful sources that brought me through the learning process.
The more I learned through my research, the more interested I became in the whole process. Eventually, my supervisor, Joëlle, and I decided that it was time for me to try some canning! Here I share my experience.
So first, I knew that it was important for me to have someone to go through this process with me. I mentioned it to my mum, and she told me she would be interested in coming along on the canning journey with me (she’s the best).
We talked to my uncle who I knew was in the middle of using up some of his final tomatoes of the season, and he kindly offered us a box of roma tomatoes that he grew. This helped us decide that we wanted to make canned tomato sauce, something my mom and I both use lots of throughout the winter! We looked through both the Ball and Bernardin websites and we agreed on this recipe: Roasted Garlic Roma Tomato Sauce . I read it over, and did some planning about supplies, ingredients, and timing. I also checked my altitude and referenced the NCHFP chart to check how long my processing time would be.
Finally, we decided on the day we would do the project and we were ready to go that morning.
Here is my equipment, including
- Jars, washed well
- Lids, washed well
- Metal bands
- Canning pot
- Canning rack
- Funnel
- Jar lifter
- Headspace tool
- Paper towels
- Tray and dishtowel
- Citric acid
- Tomato press (not required)

First, we had to make the sauce.
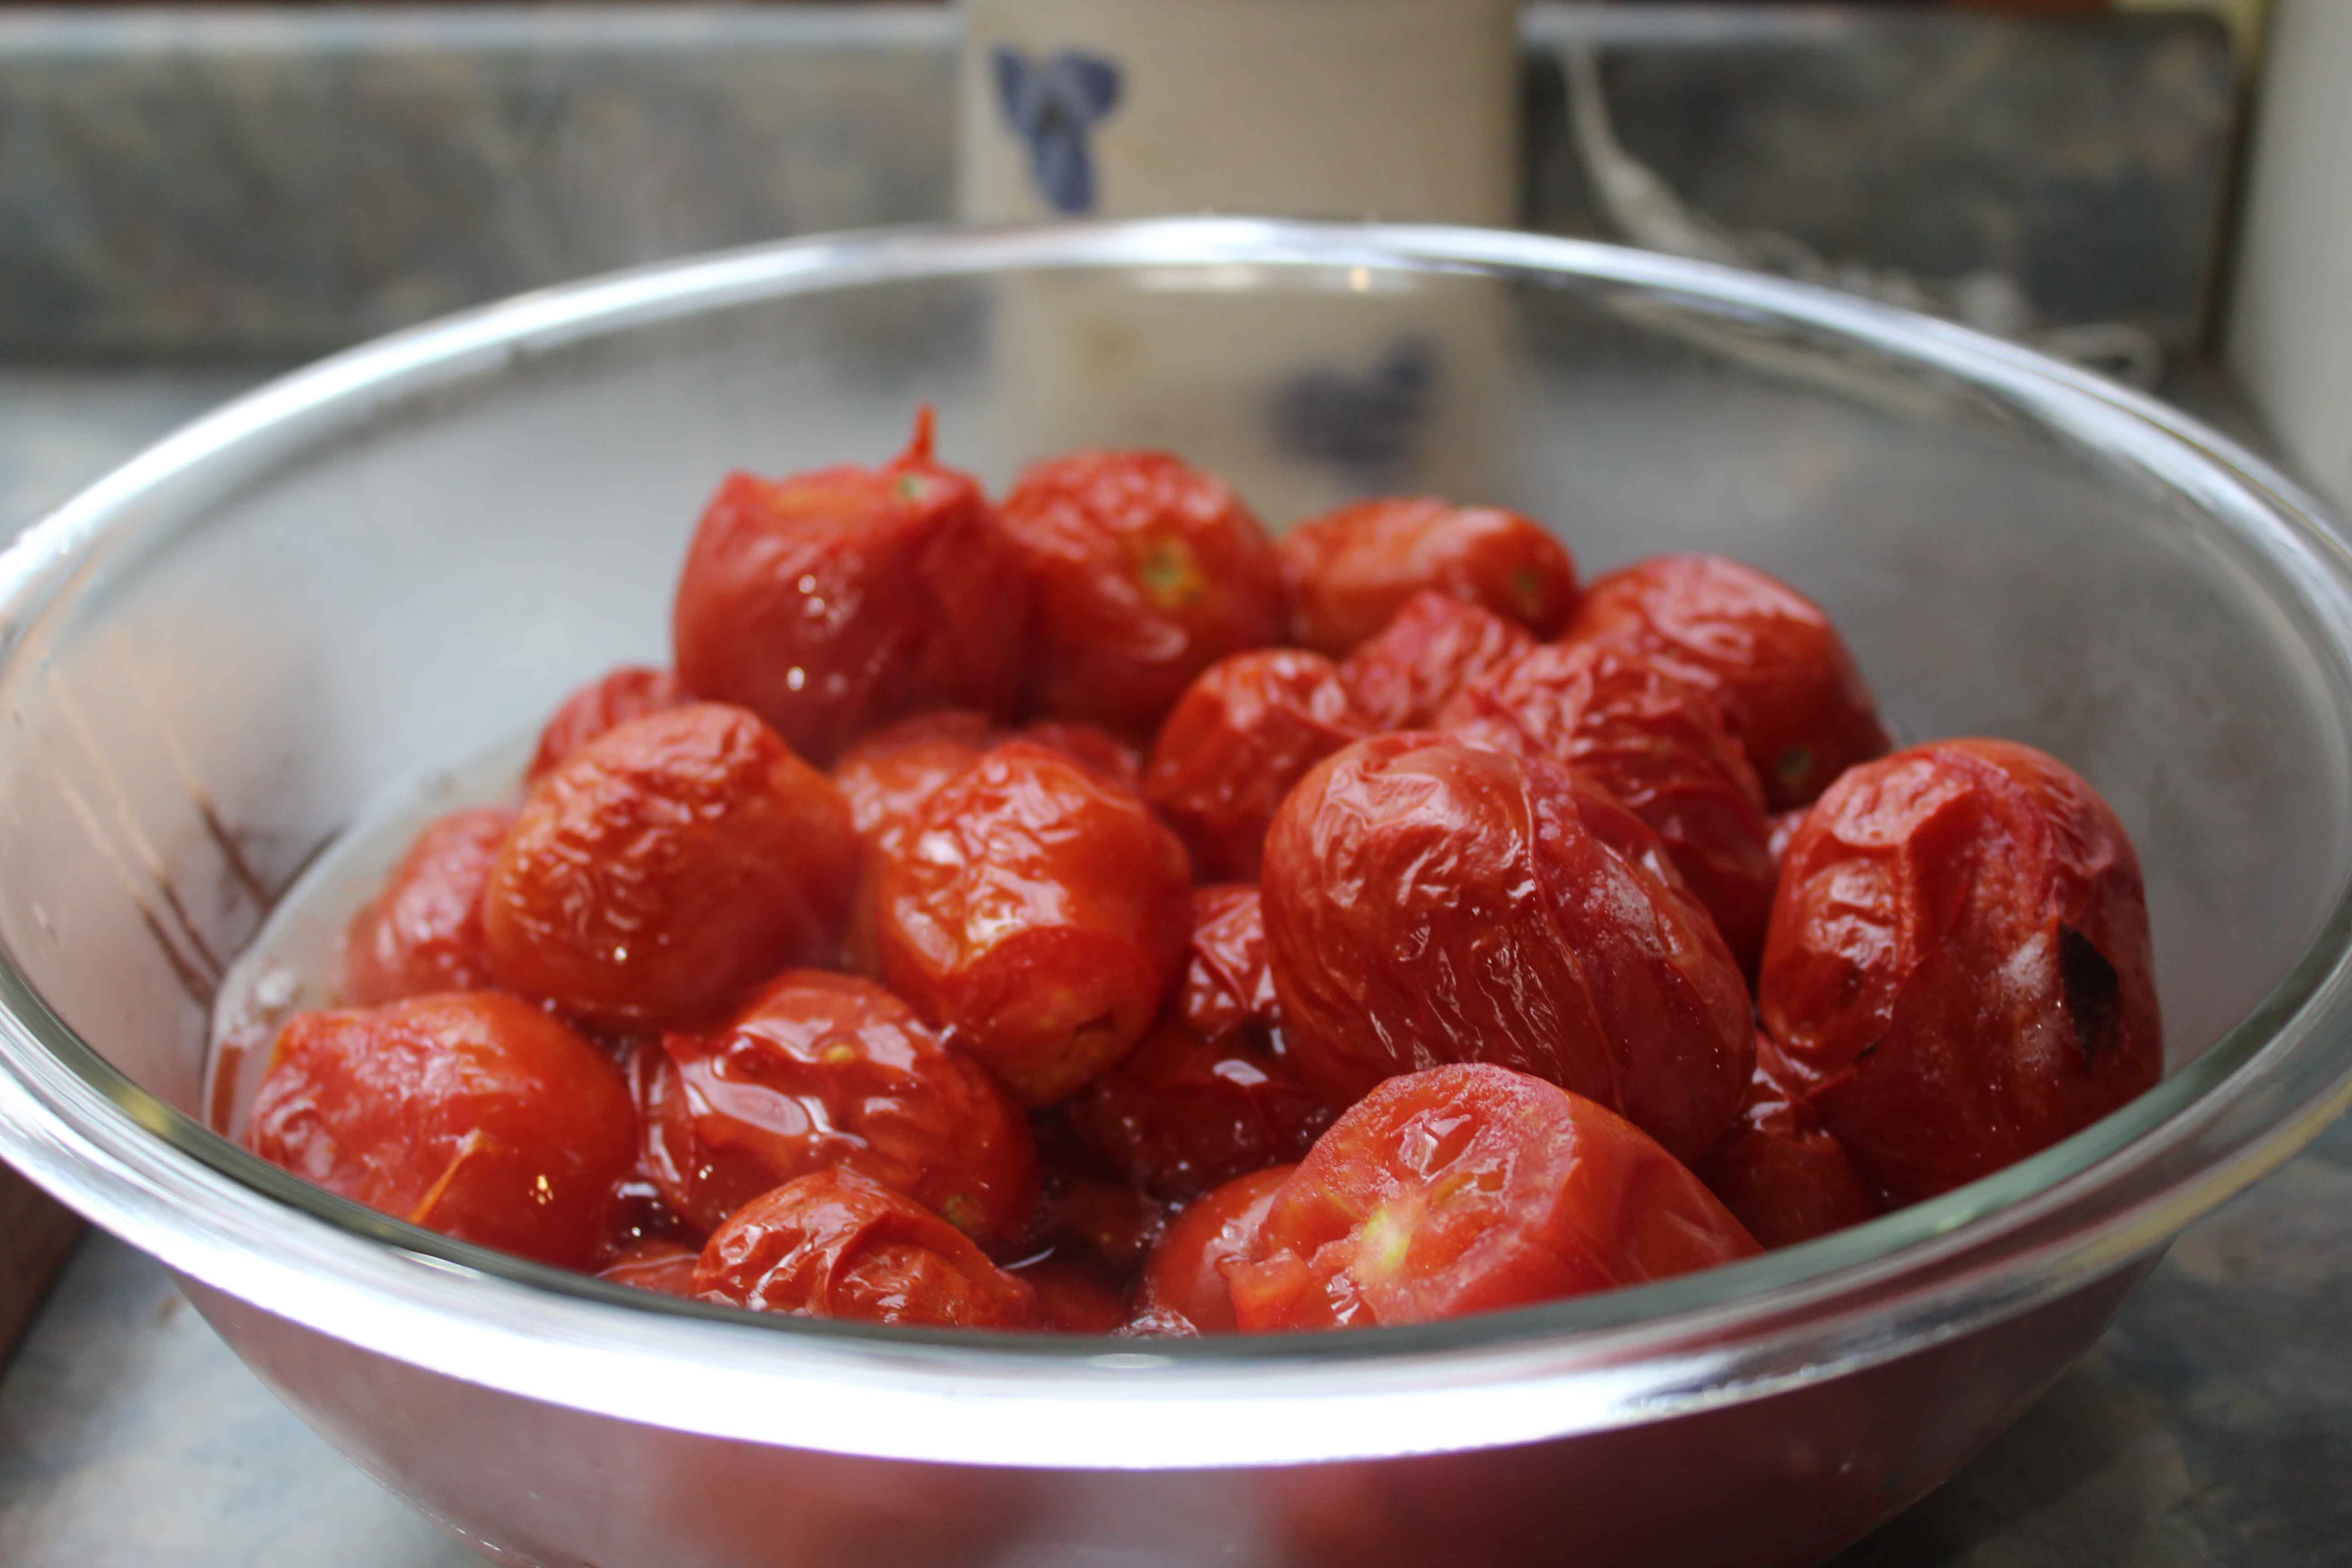
We started by washing the tomatoes well and inspecting them for soft or bad spots and cutting those off.

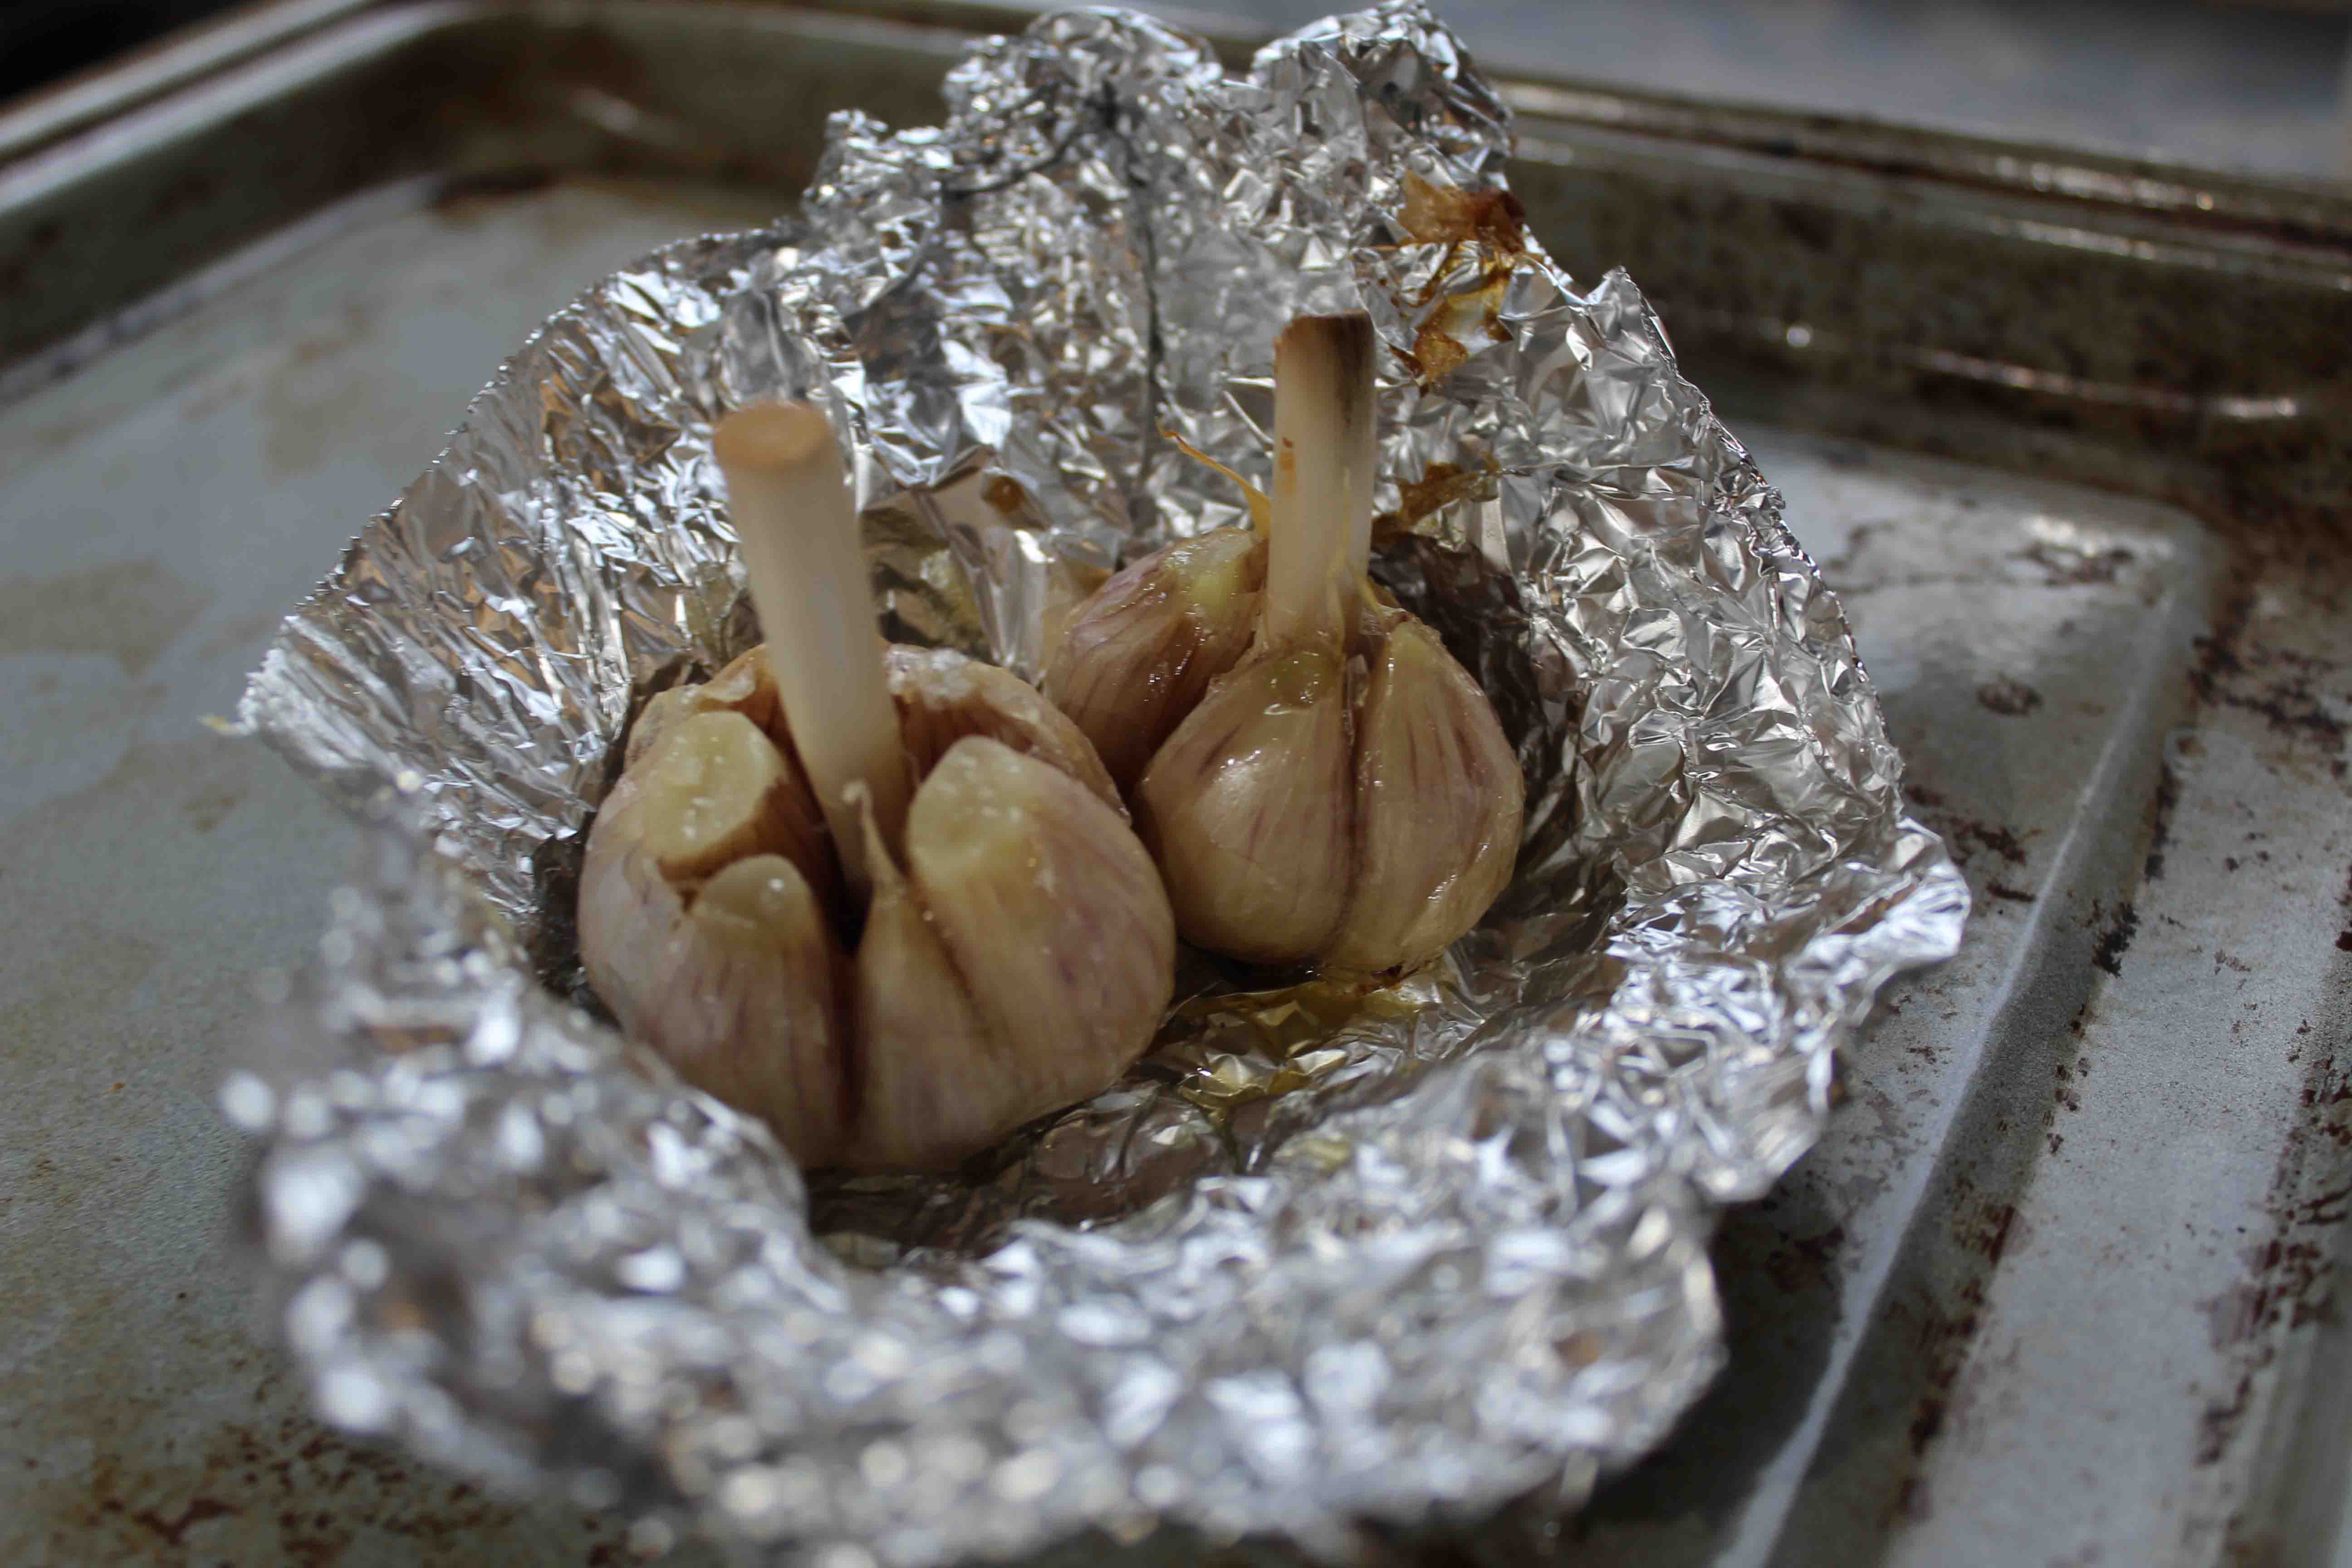
Then, we roasted our tomatoes. This was for flavour, as well as for ease of removing skins.

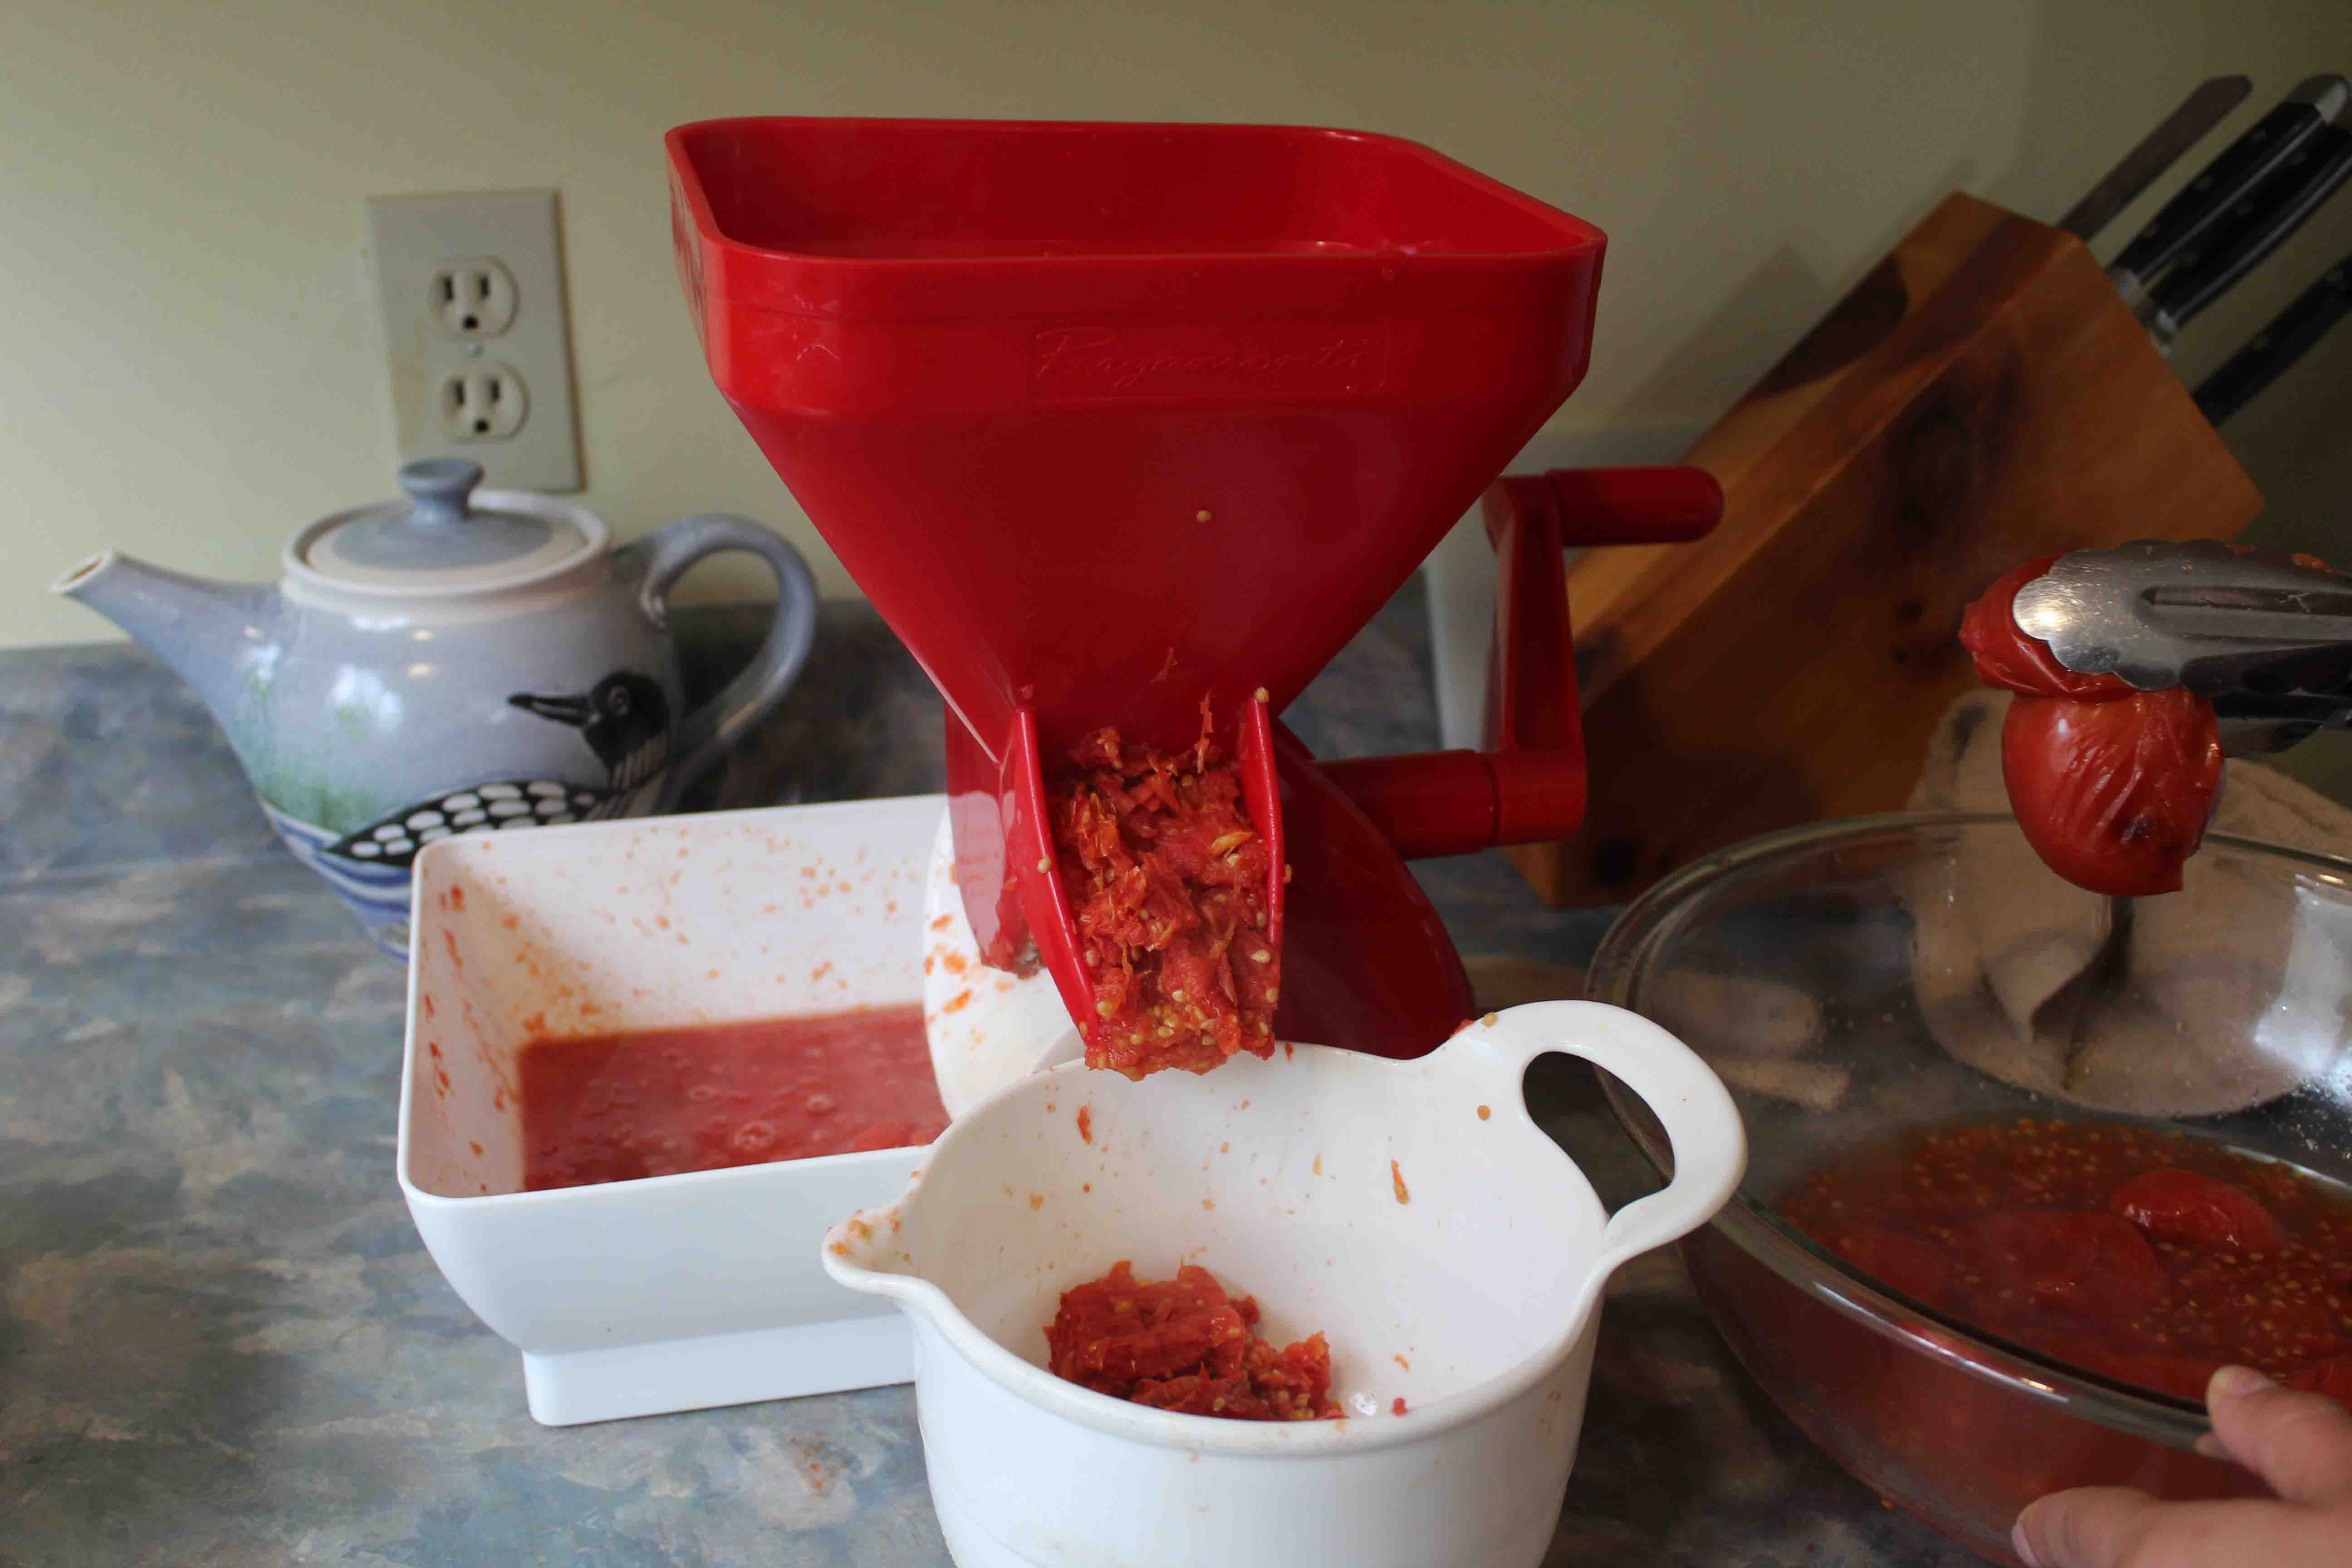
After letting the tomatoes steam under a cloth for a few minutes, I pressed them in this nifty press I borrowed. If you don’t have a press, don’t worry it’s not required, you will just remove the skins and cores by hand.

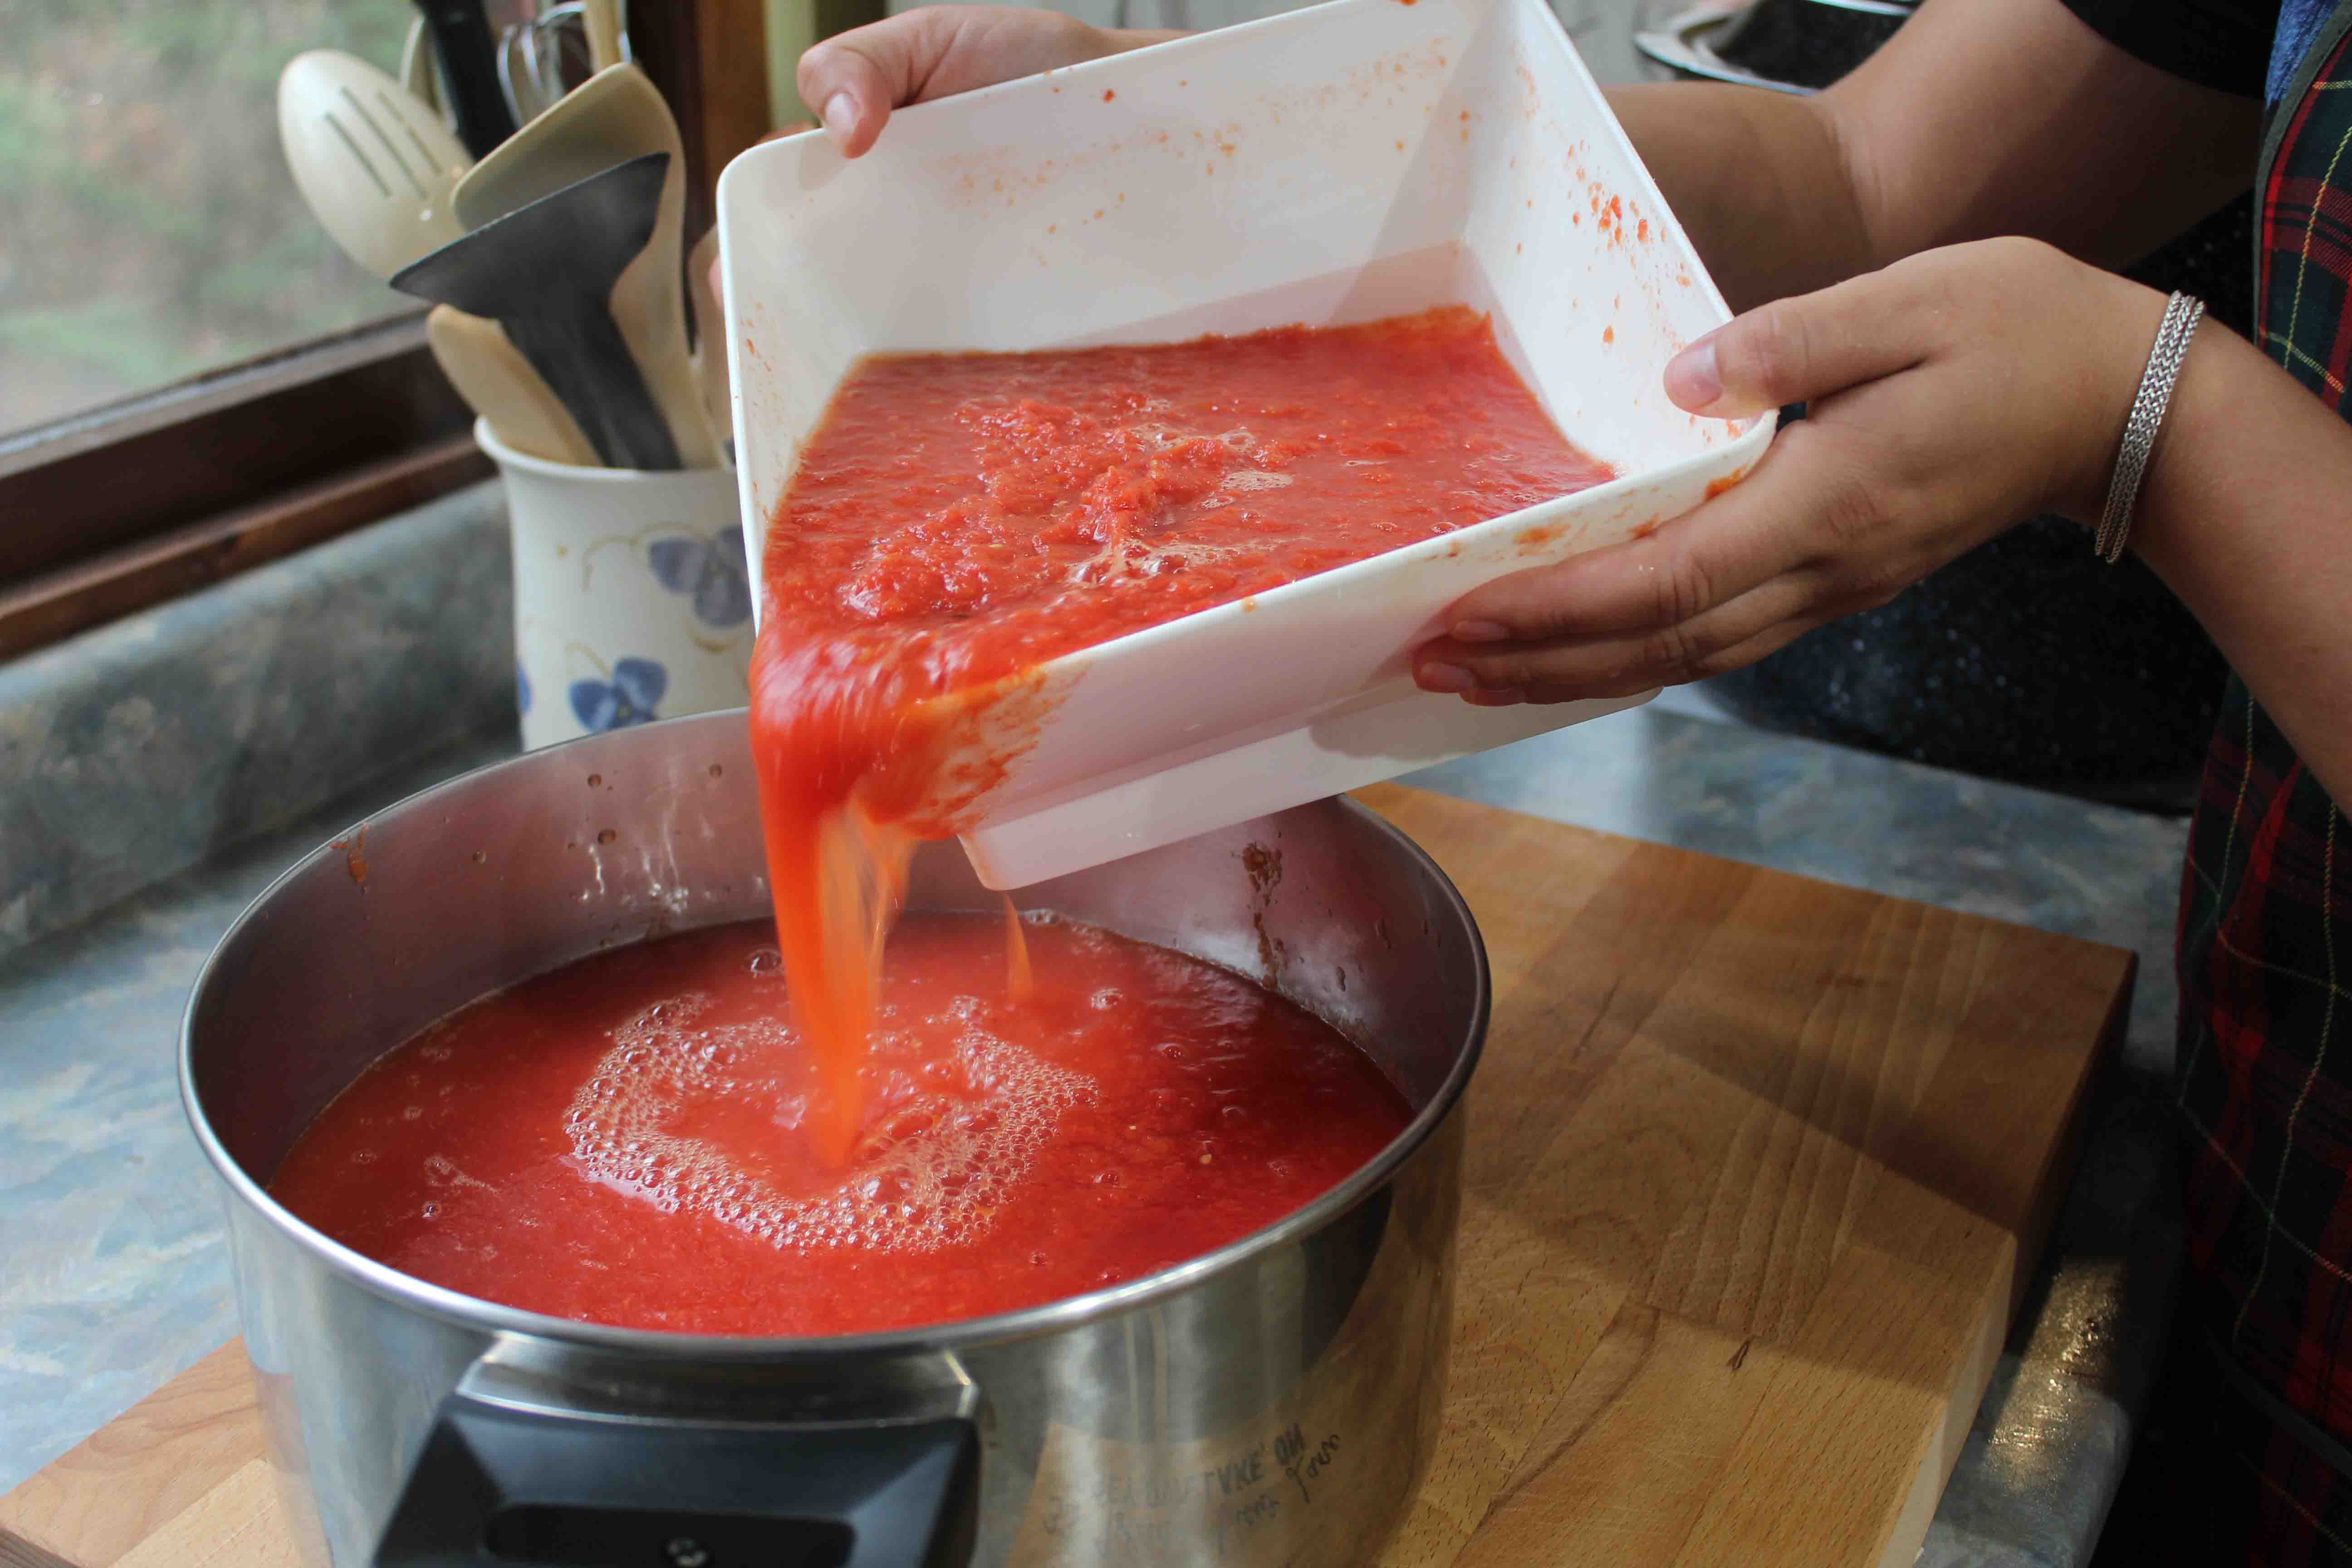
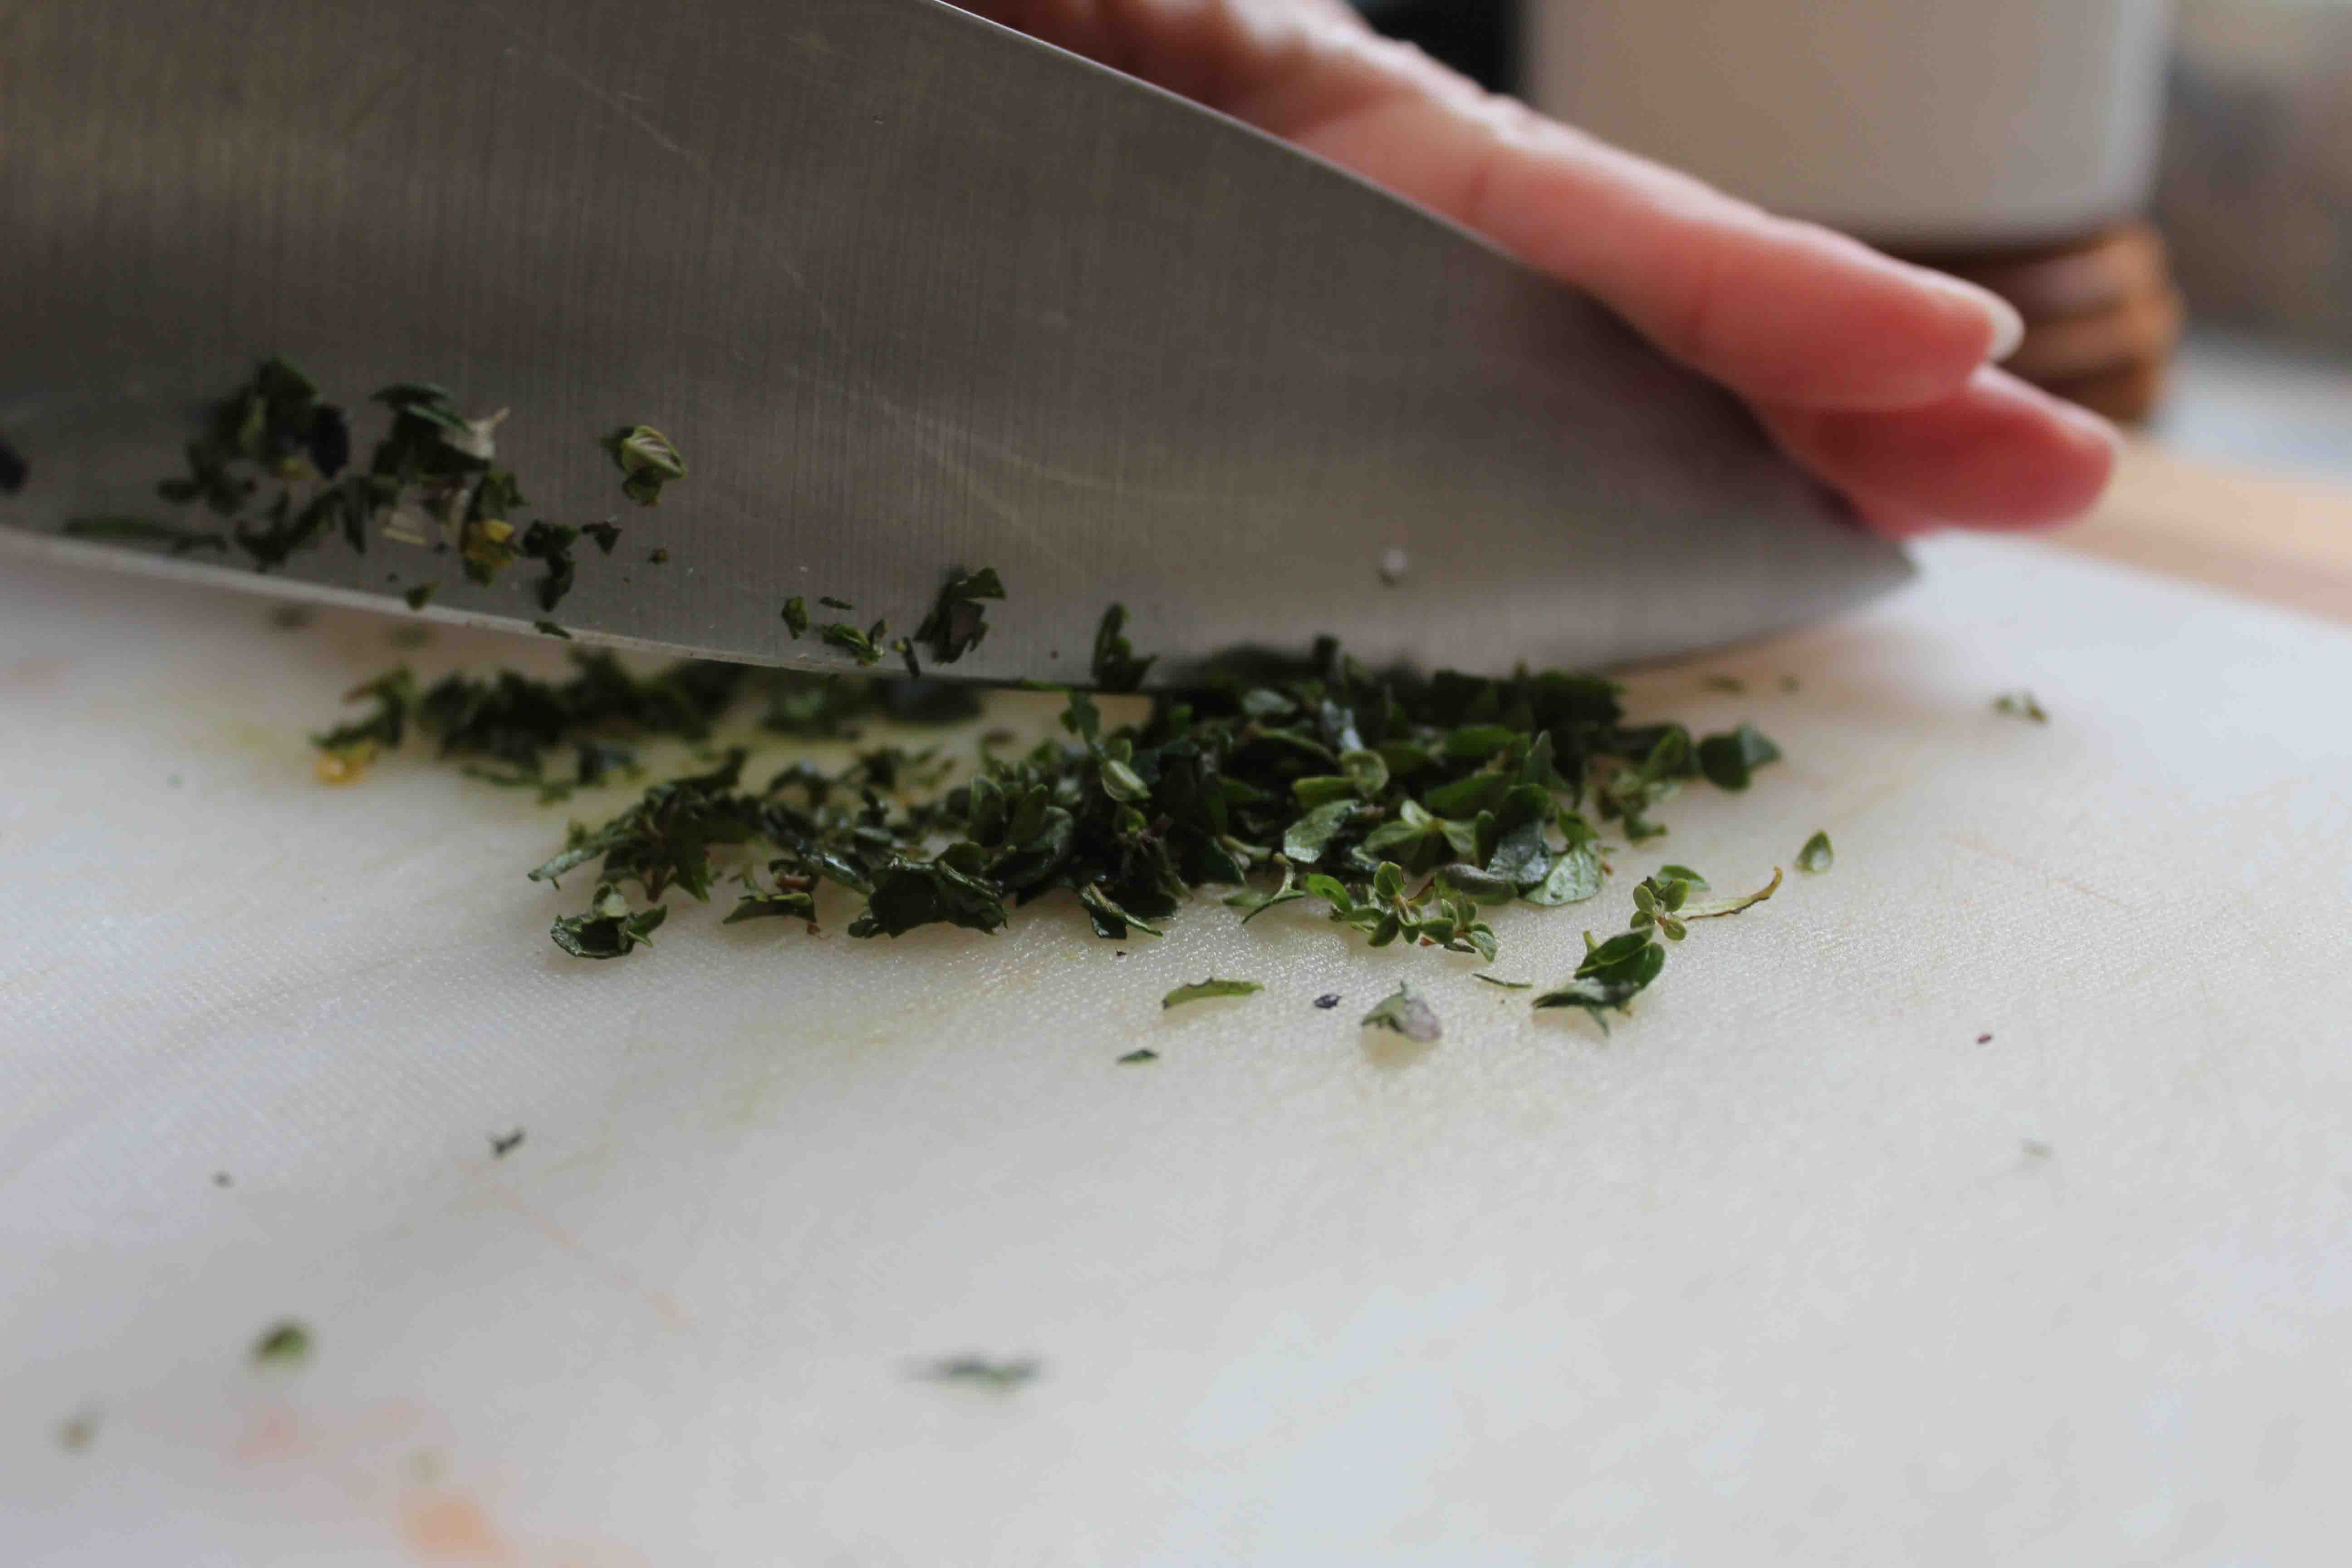
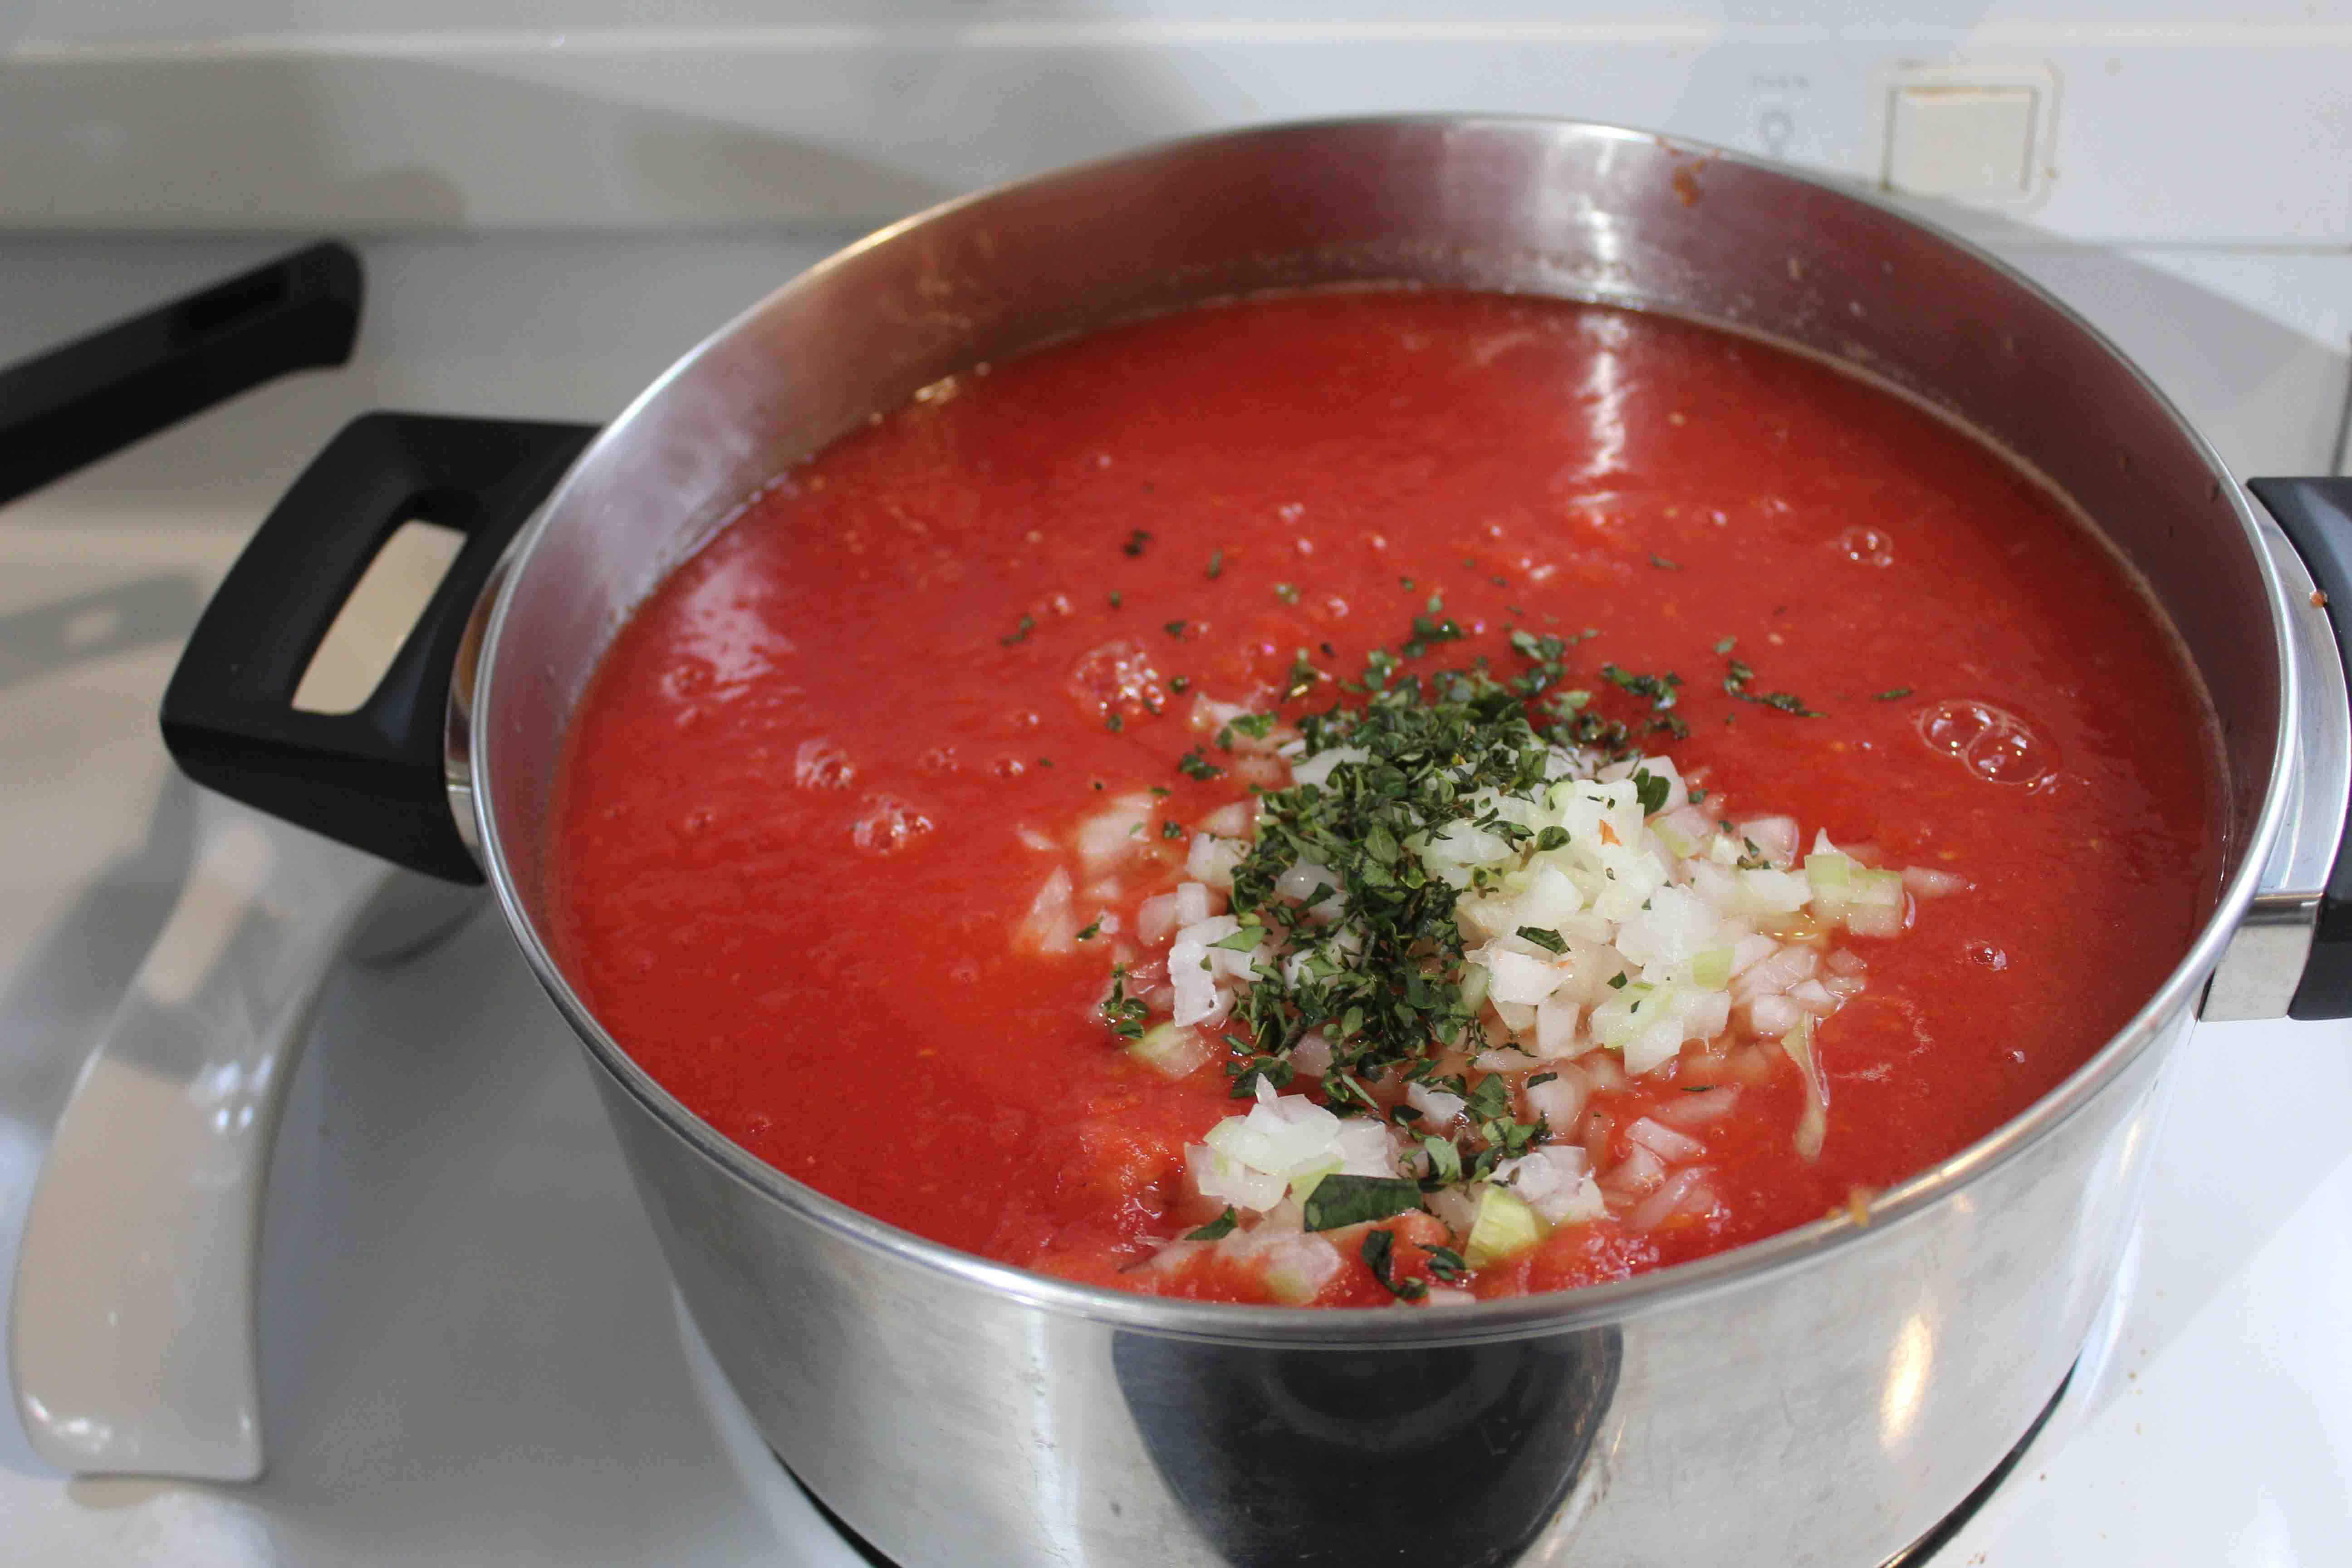
Then, we added the rest of the ingredients and cooked the sauce on the stove for about 45 minutes. This is slightly longer than the recommended cooking time for the sauce because it was still very watery after 30 minutes. Cooking tomatoes for longer will increase acidity, so this is in general an okay alteration for a tomato sauce recipe but always try to follow the recipe as closely as possible. My tomatoes were just quite watery, and I wanted the finished result to be a bit thicker.

As the sauce cooked, I filled up the canning pot with warm water from the tap. I placed the jars on the rack, placed the lid on and began to heat them to a simmer. This takes a little while, so it is a good thing to start while the sauce is cooking. Make sure the pot is full enough to cover the jars by one or two inches of water. We want our jars to be hot when we fill them with the hot sauce, but the NCHFP doesn’t recommend pre-boiling jars unless processing time is below 5 minutes, so bringing to a low simmer is fine at this step.
During this waiting stage, my mum and I had a cup of tea, lunch, and a nice chat! We also cleaned up everything we could before starting the next stage.

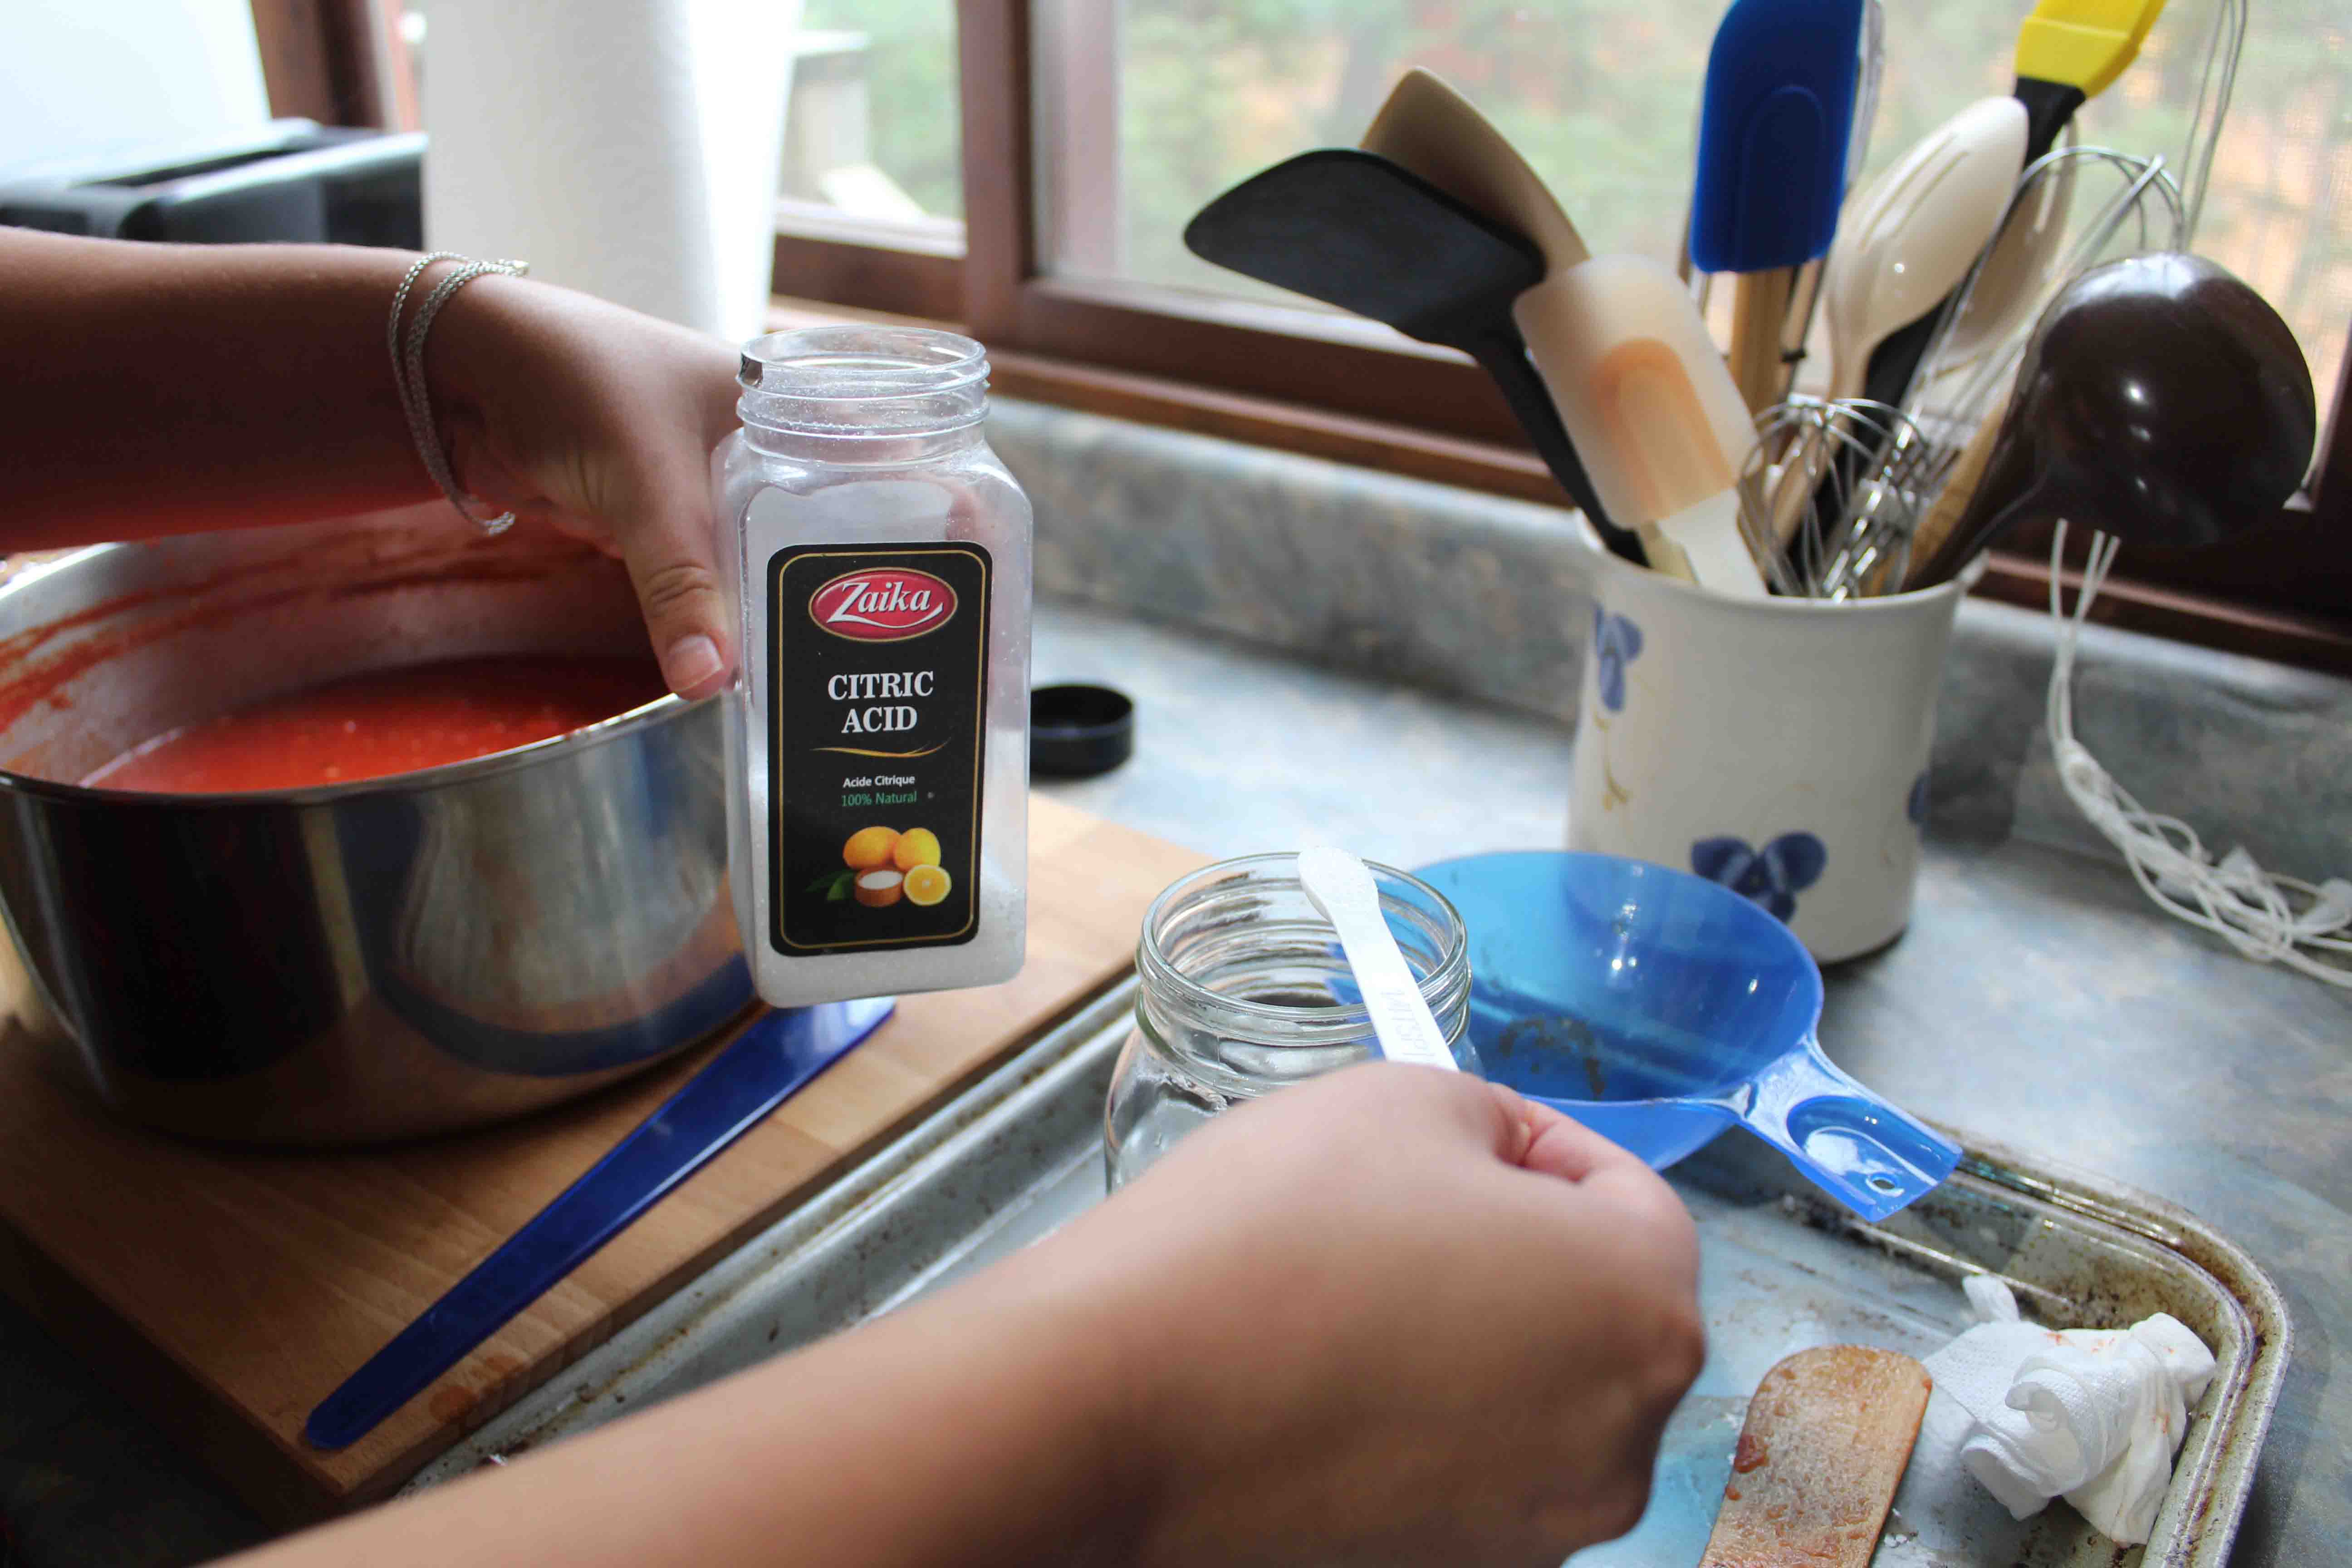
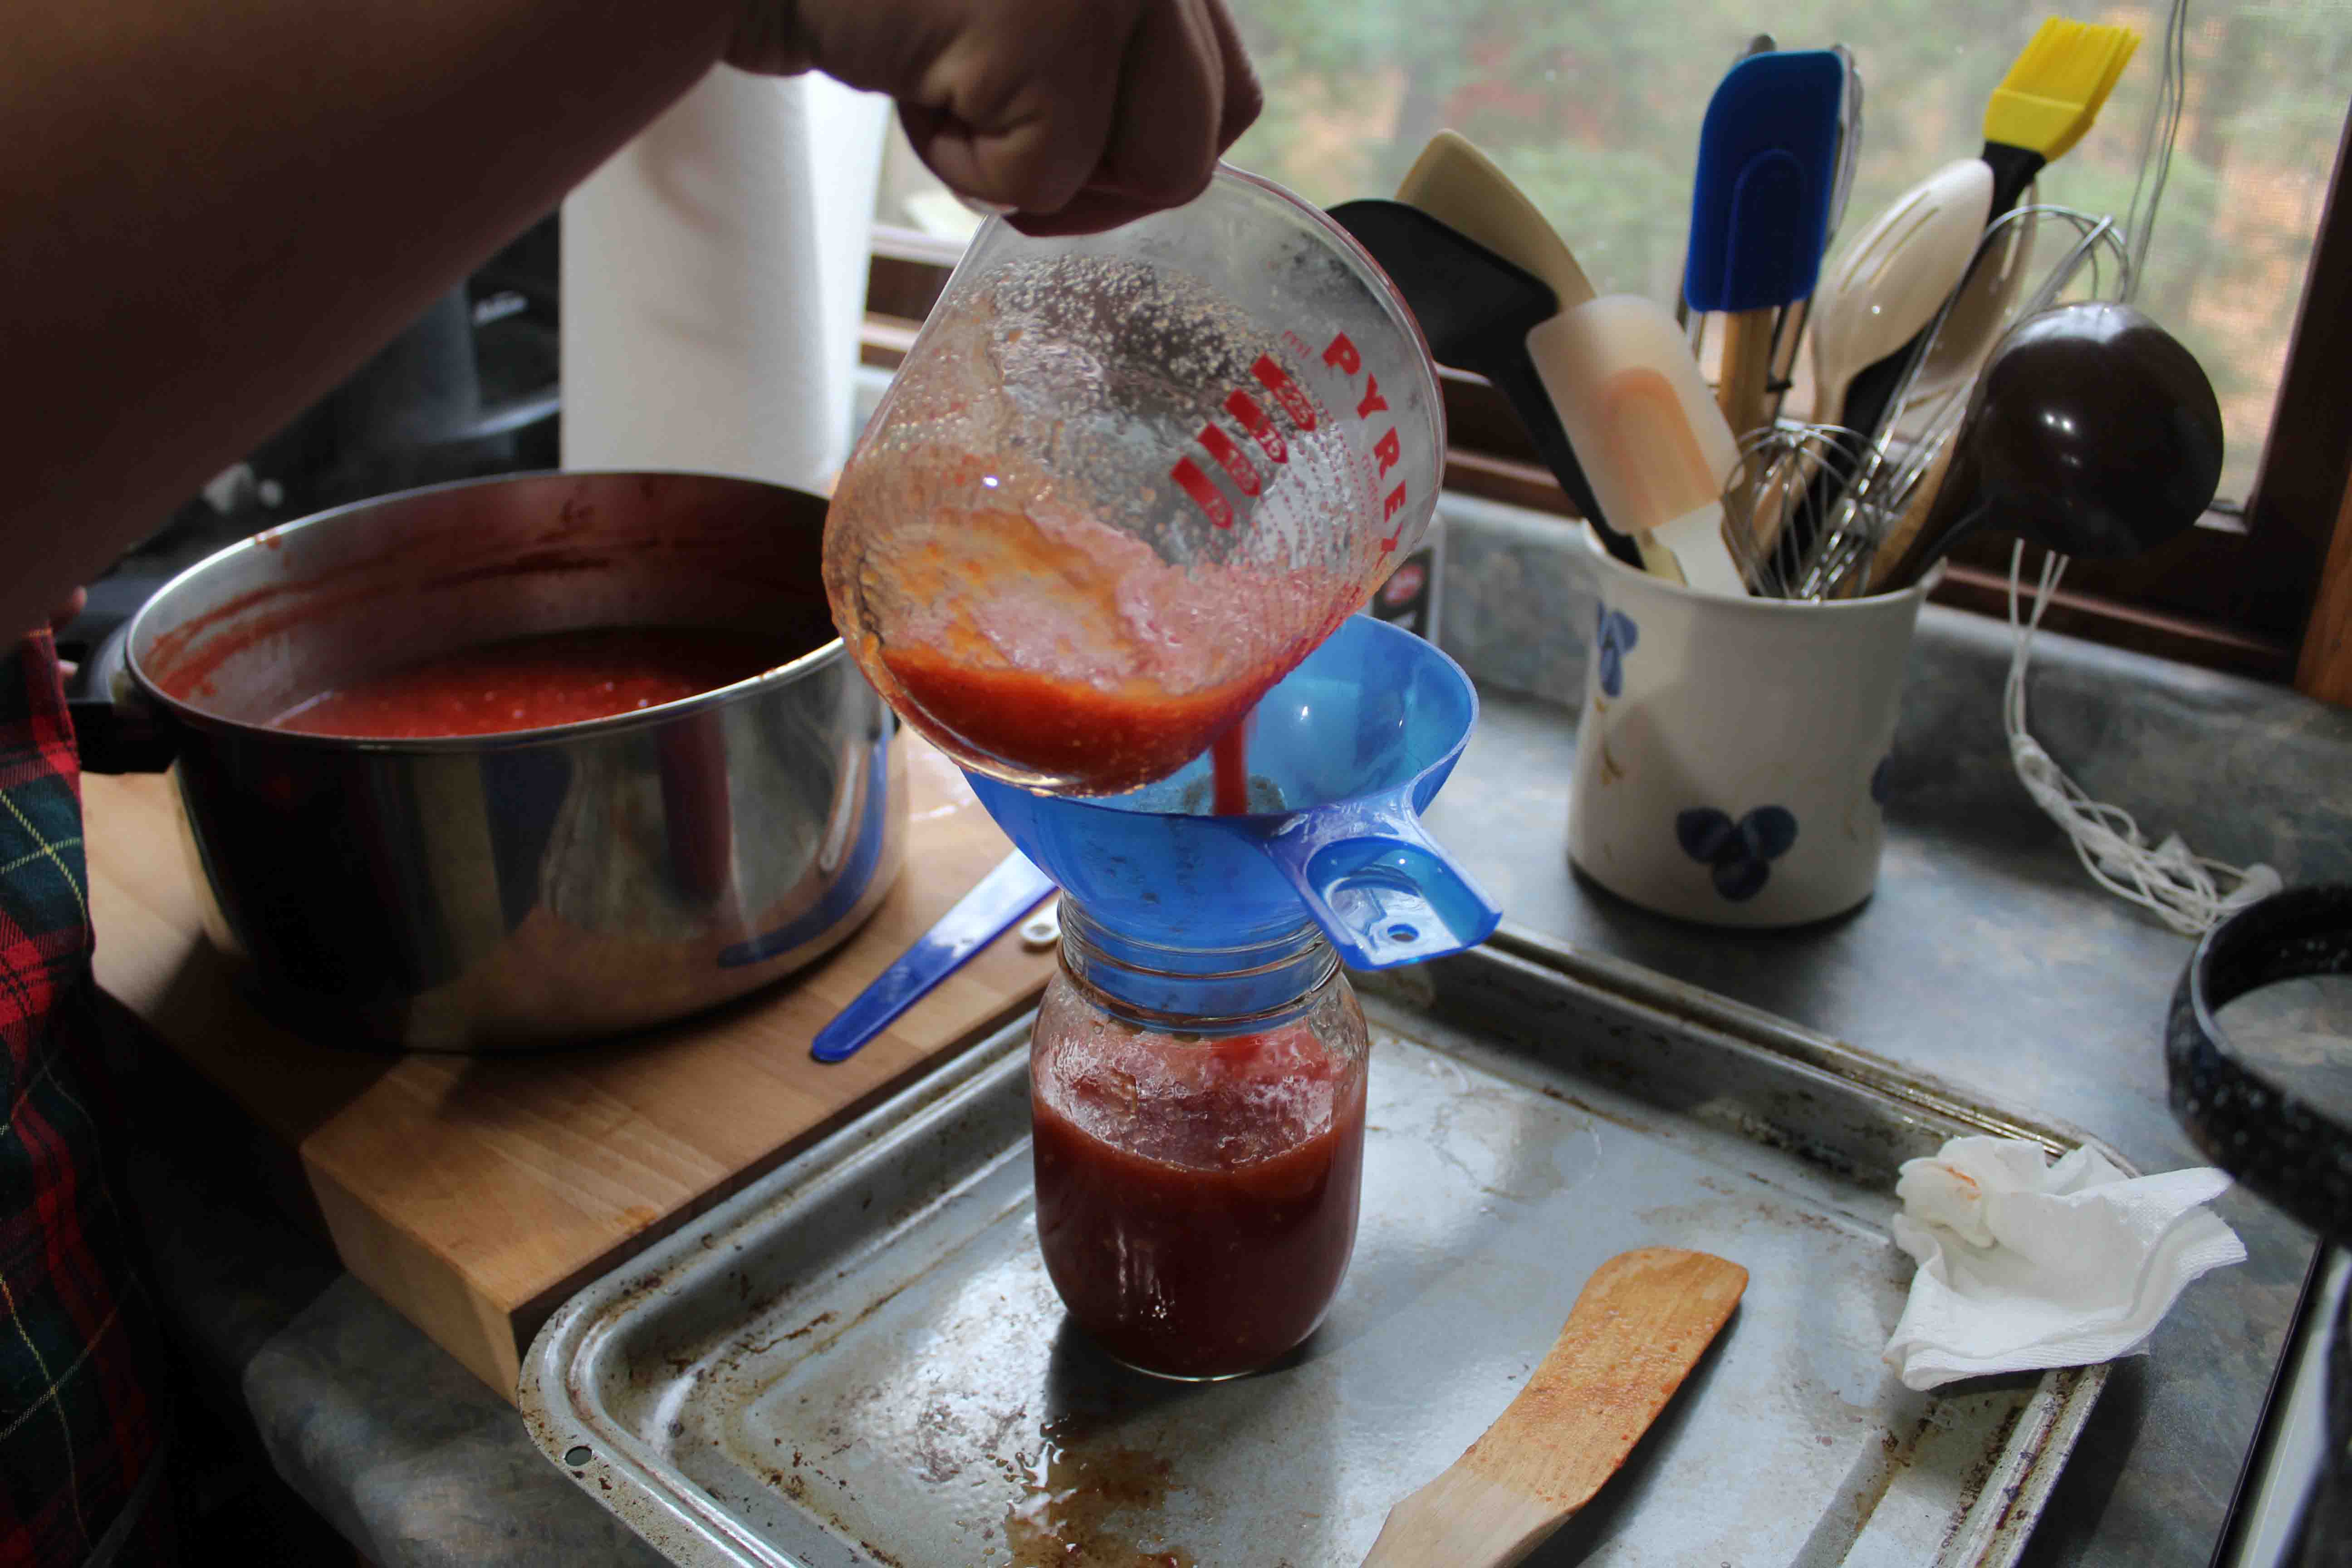
Once our sauce was cooked, it was time to can! I pulled out the jars one by one and added citric acid, an important part of the tomato canning process that increases the acidity. You can also use lemon juice as an alternative.
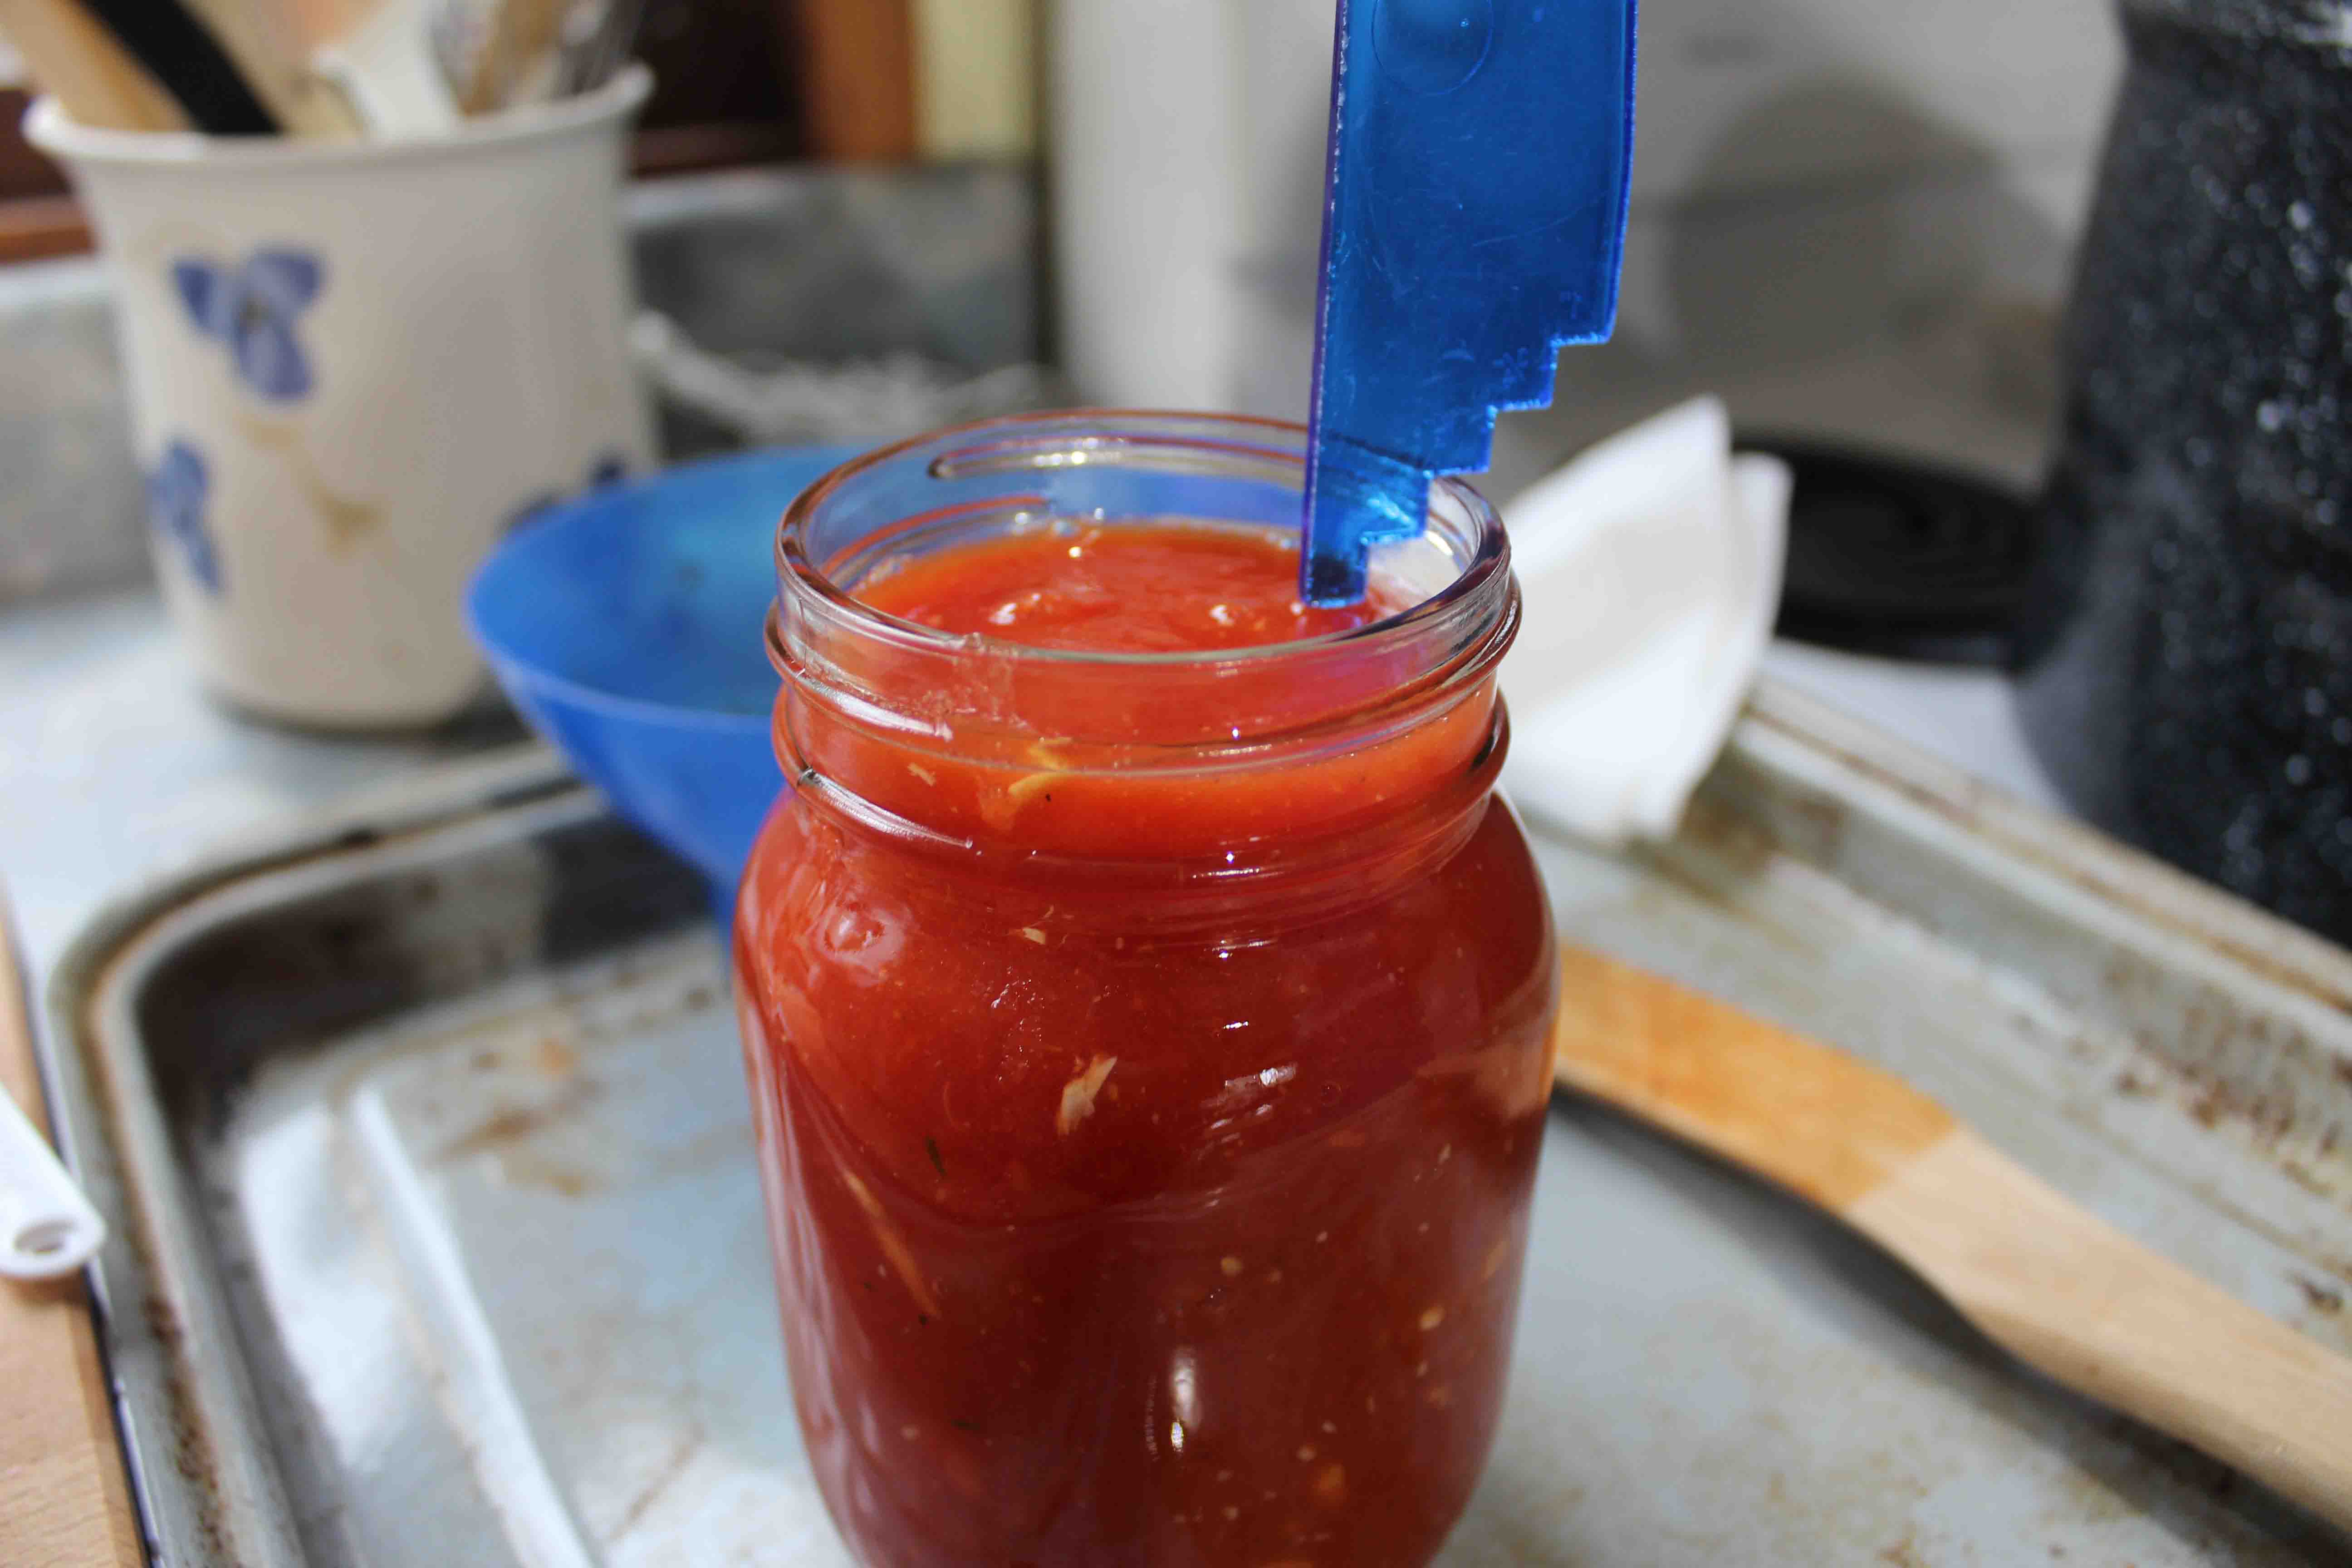
We measured the correct headspace.
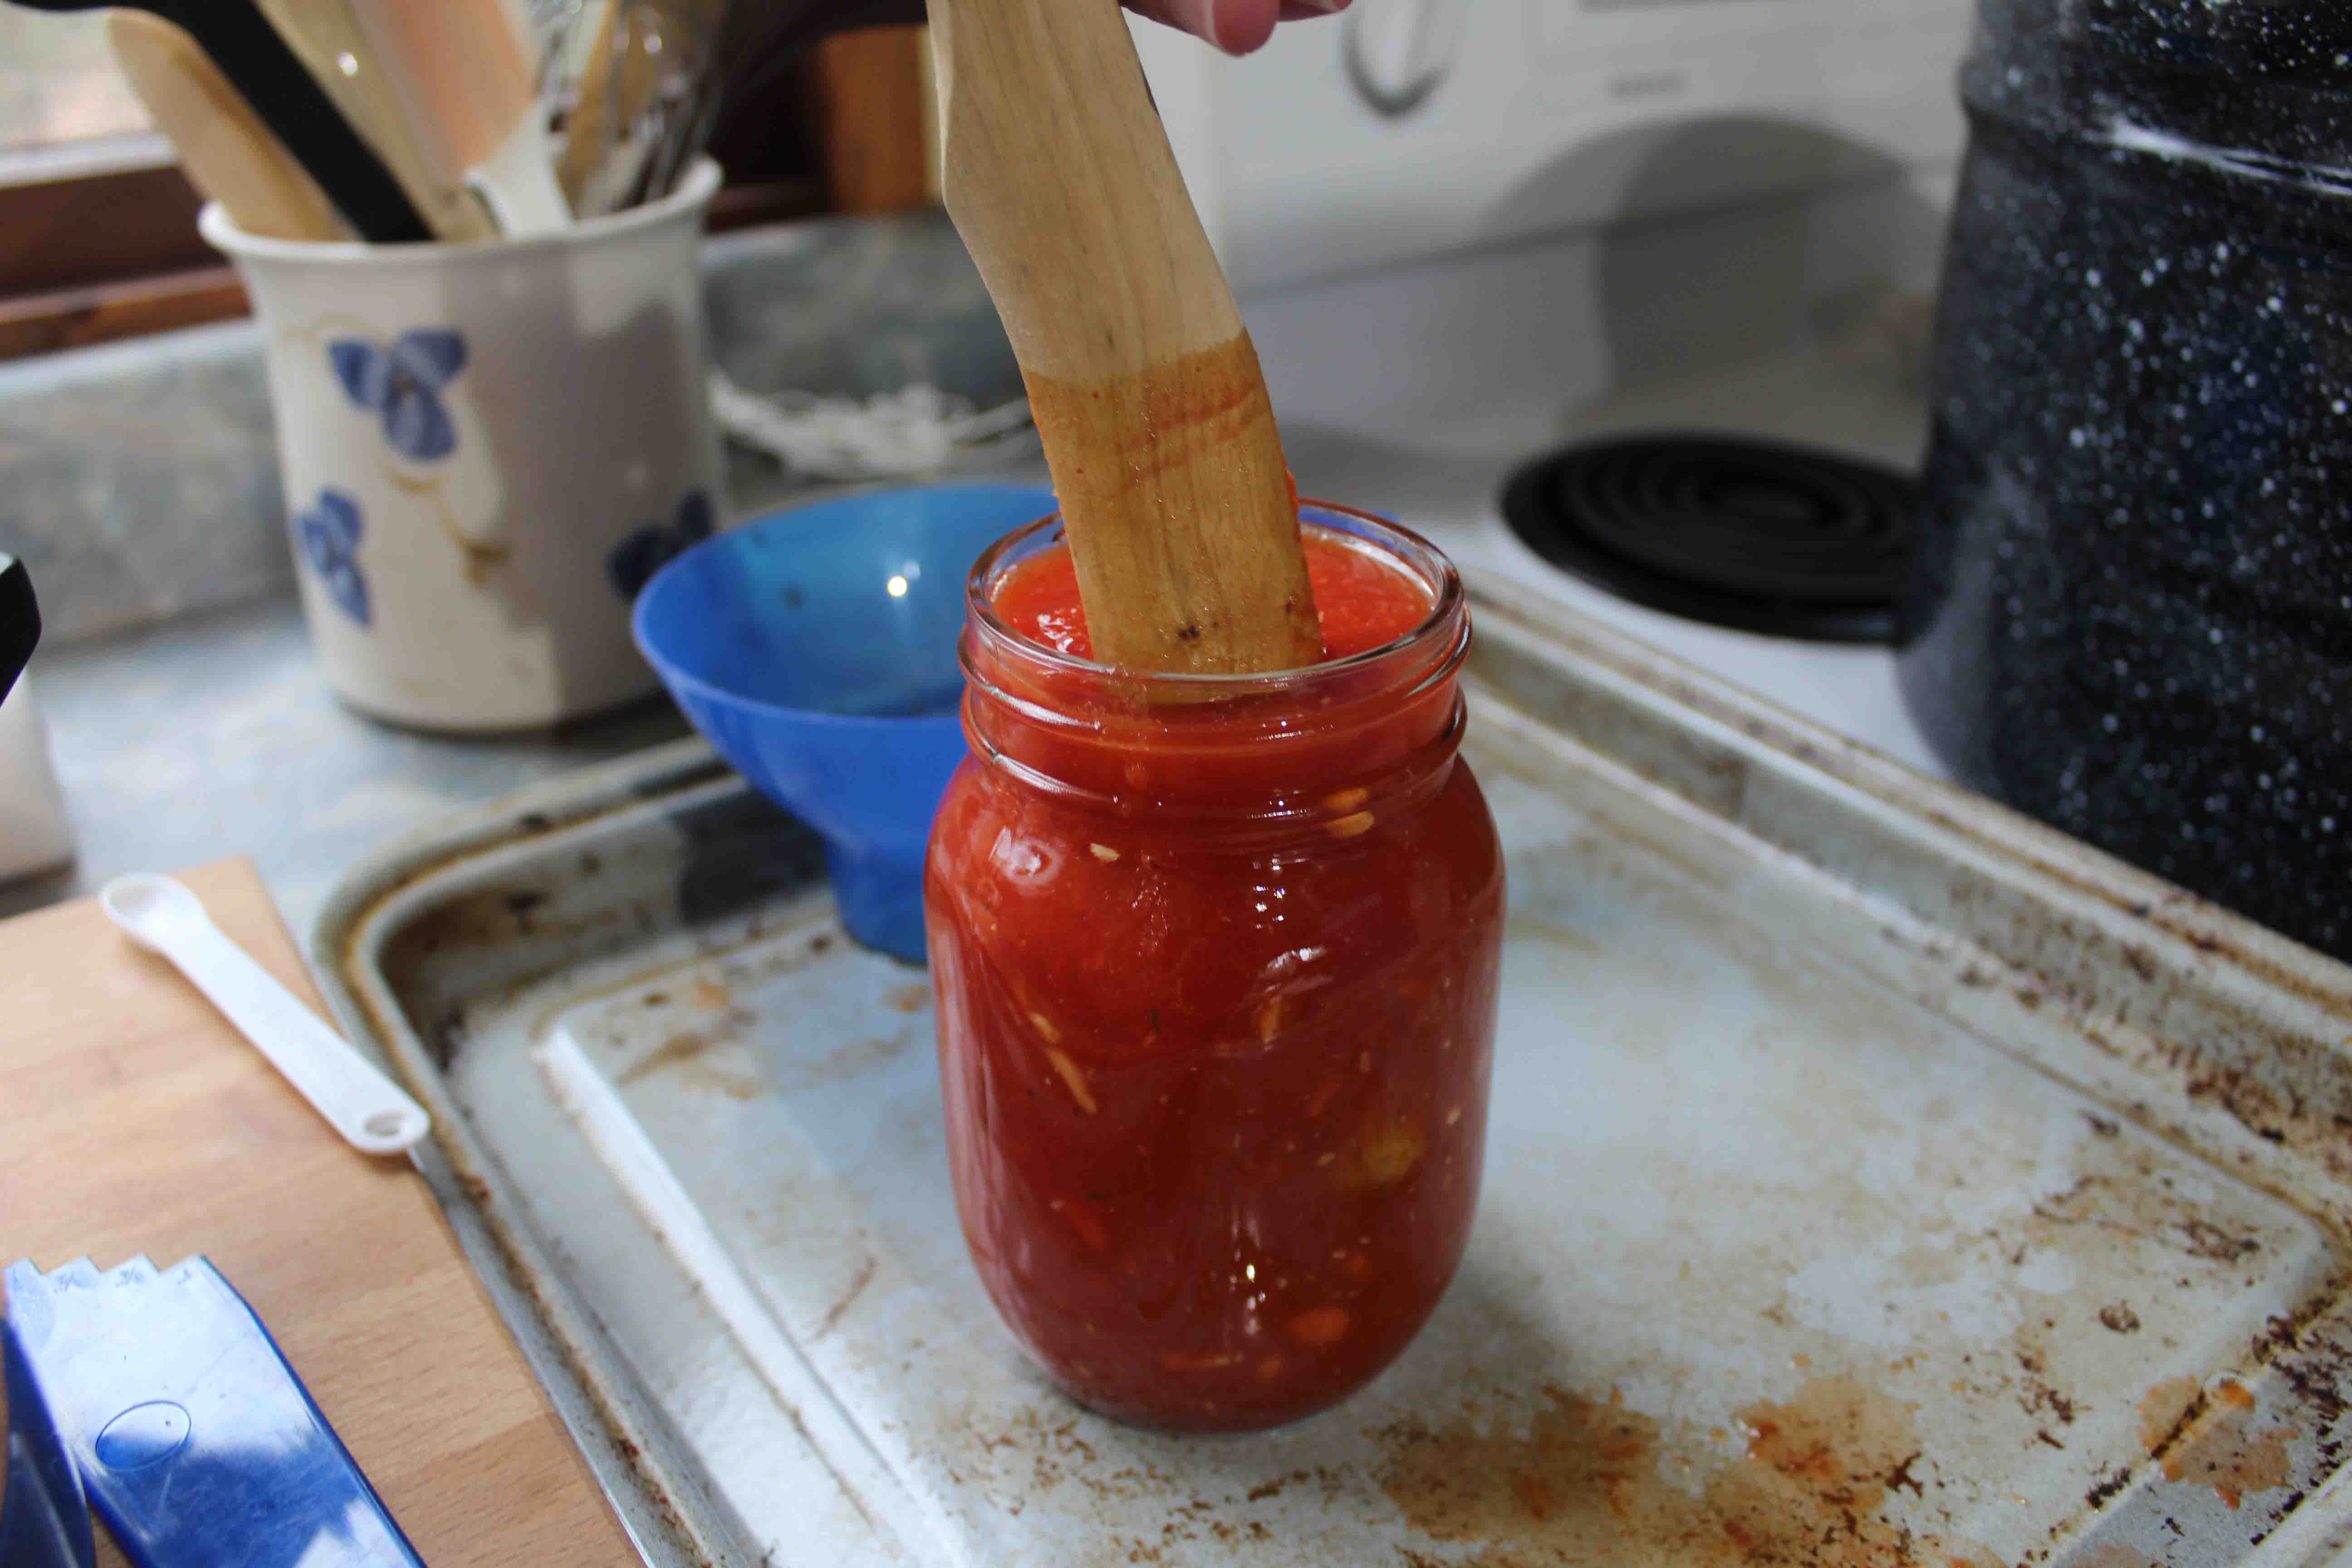
And released extra bubbles with this wooden tool.
We wiped the jar rims thoroughly with a damp paper towel (this is one of the most important steps, you do not want any food on the rim to prevent a proper seal from forming).

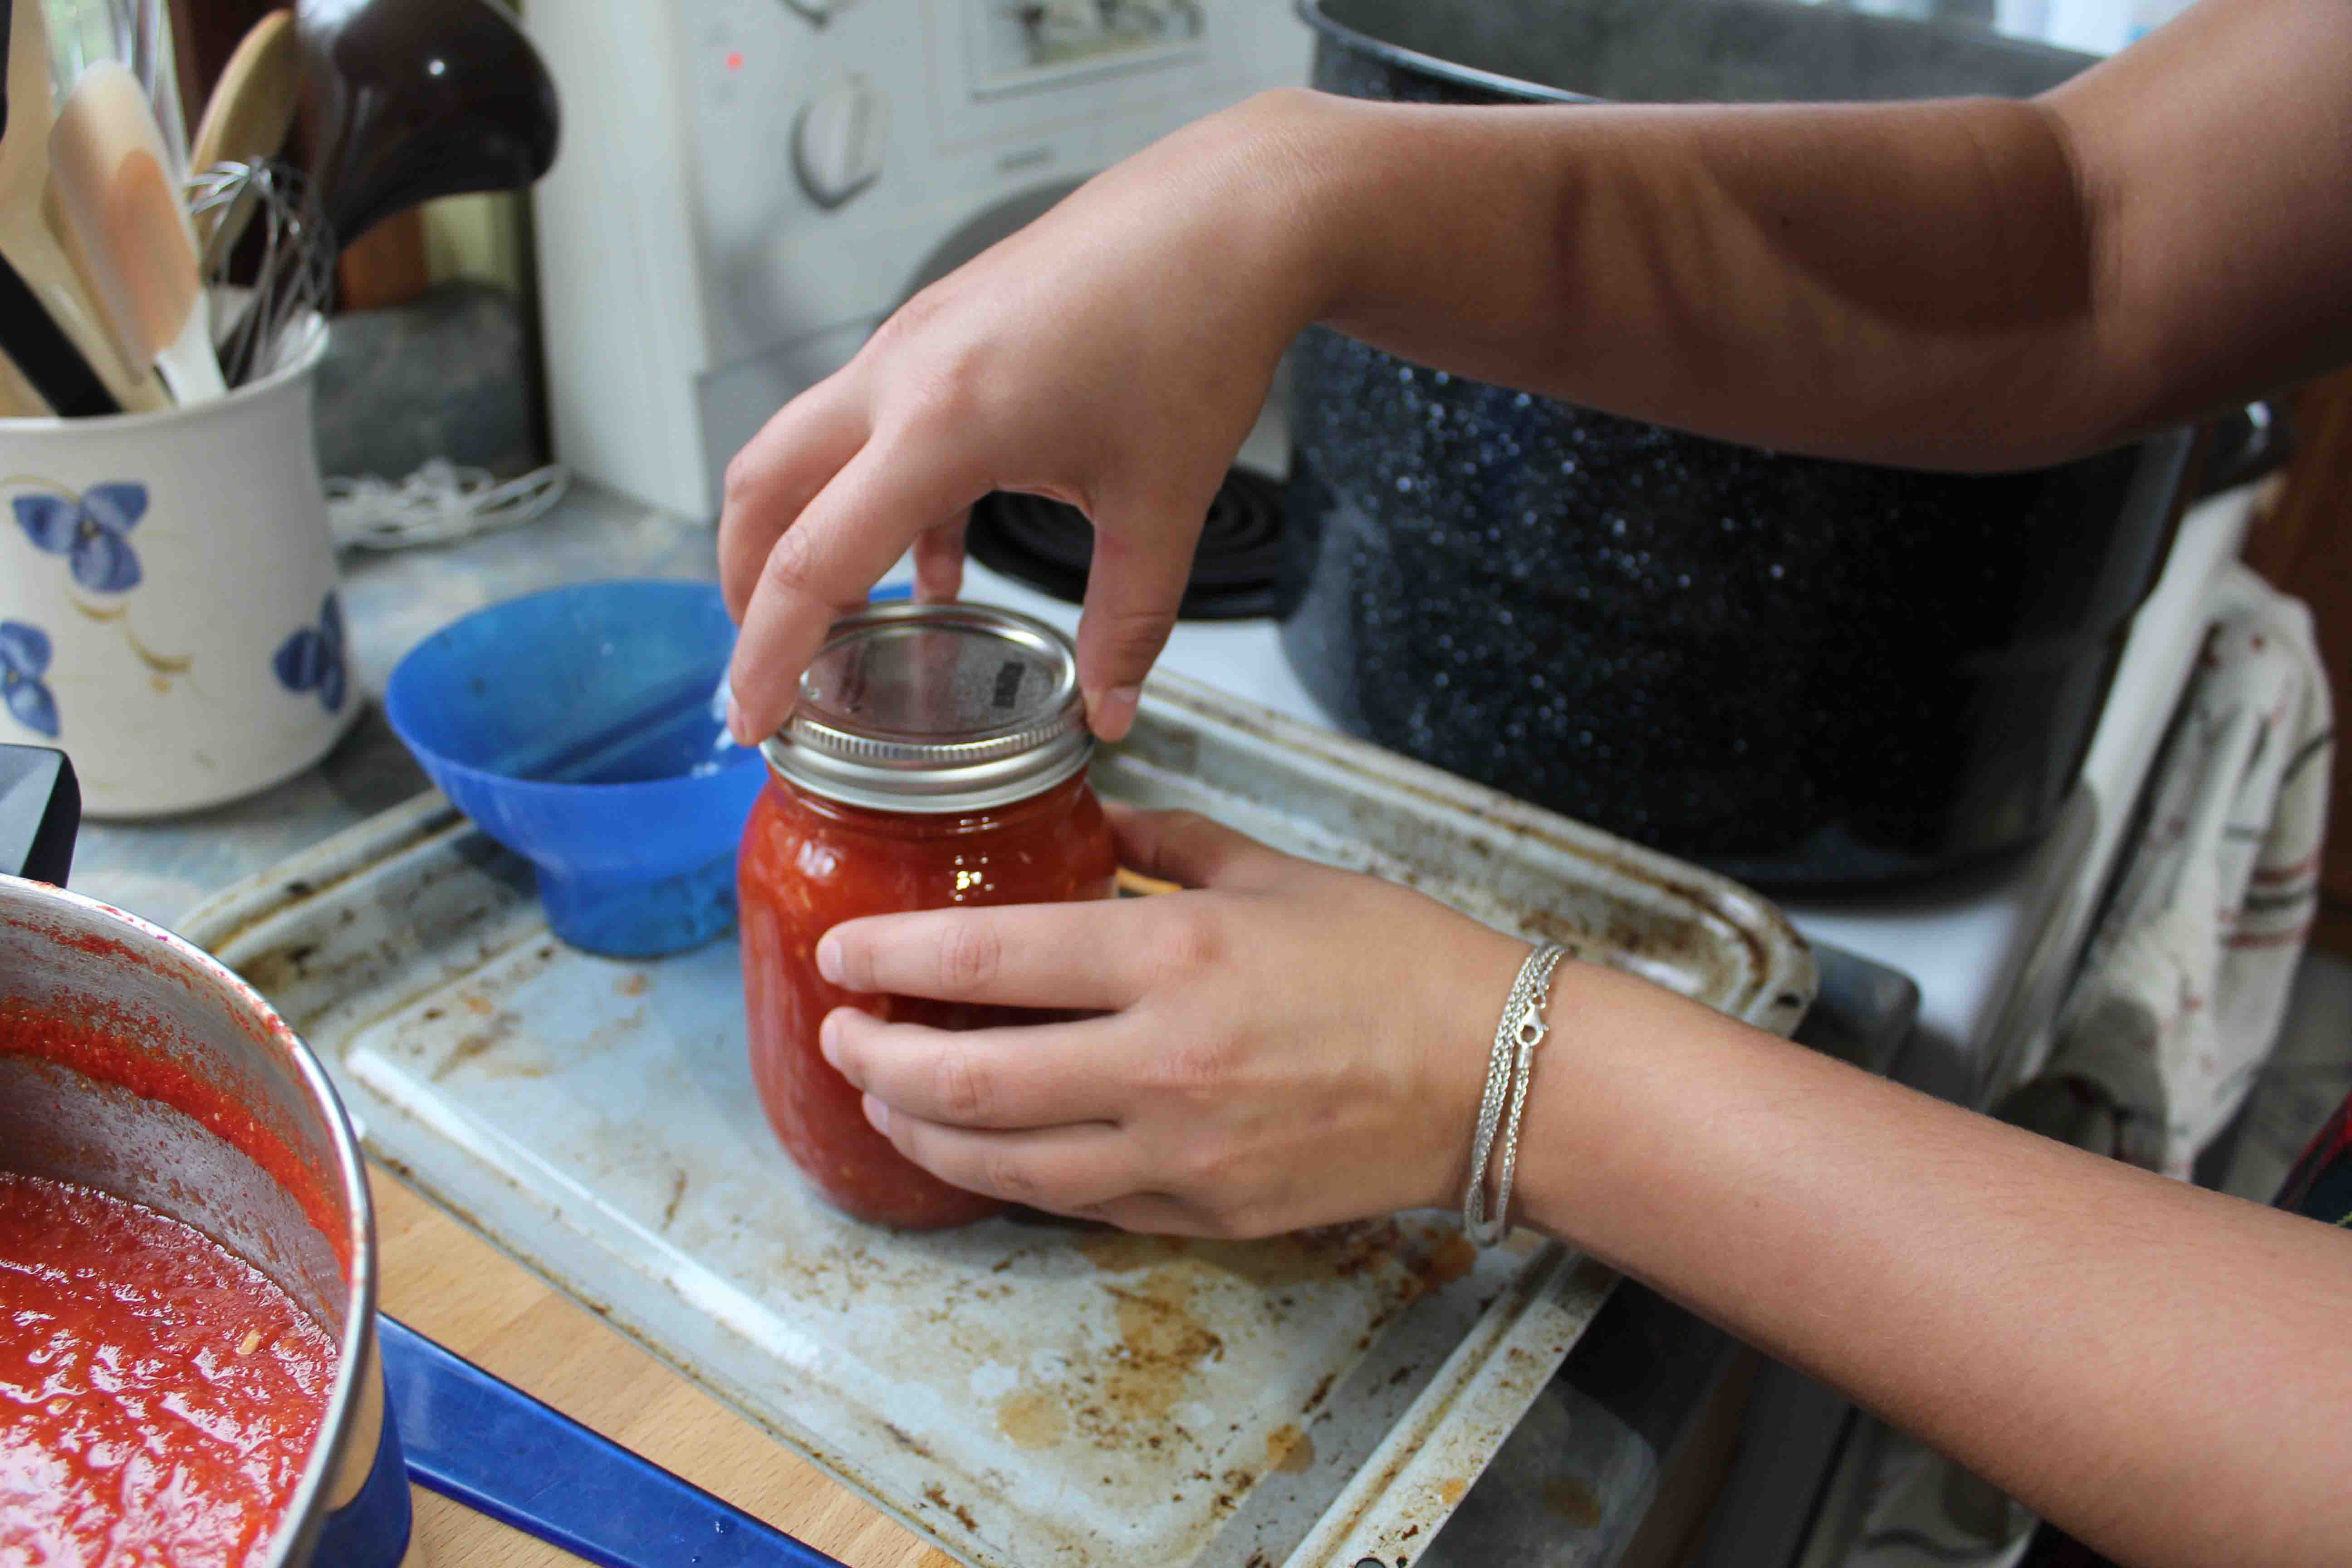
We then placed the lids that were sitting in hot water on the jars.
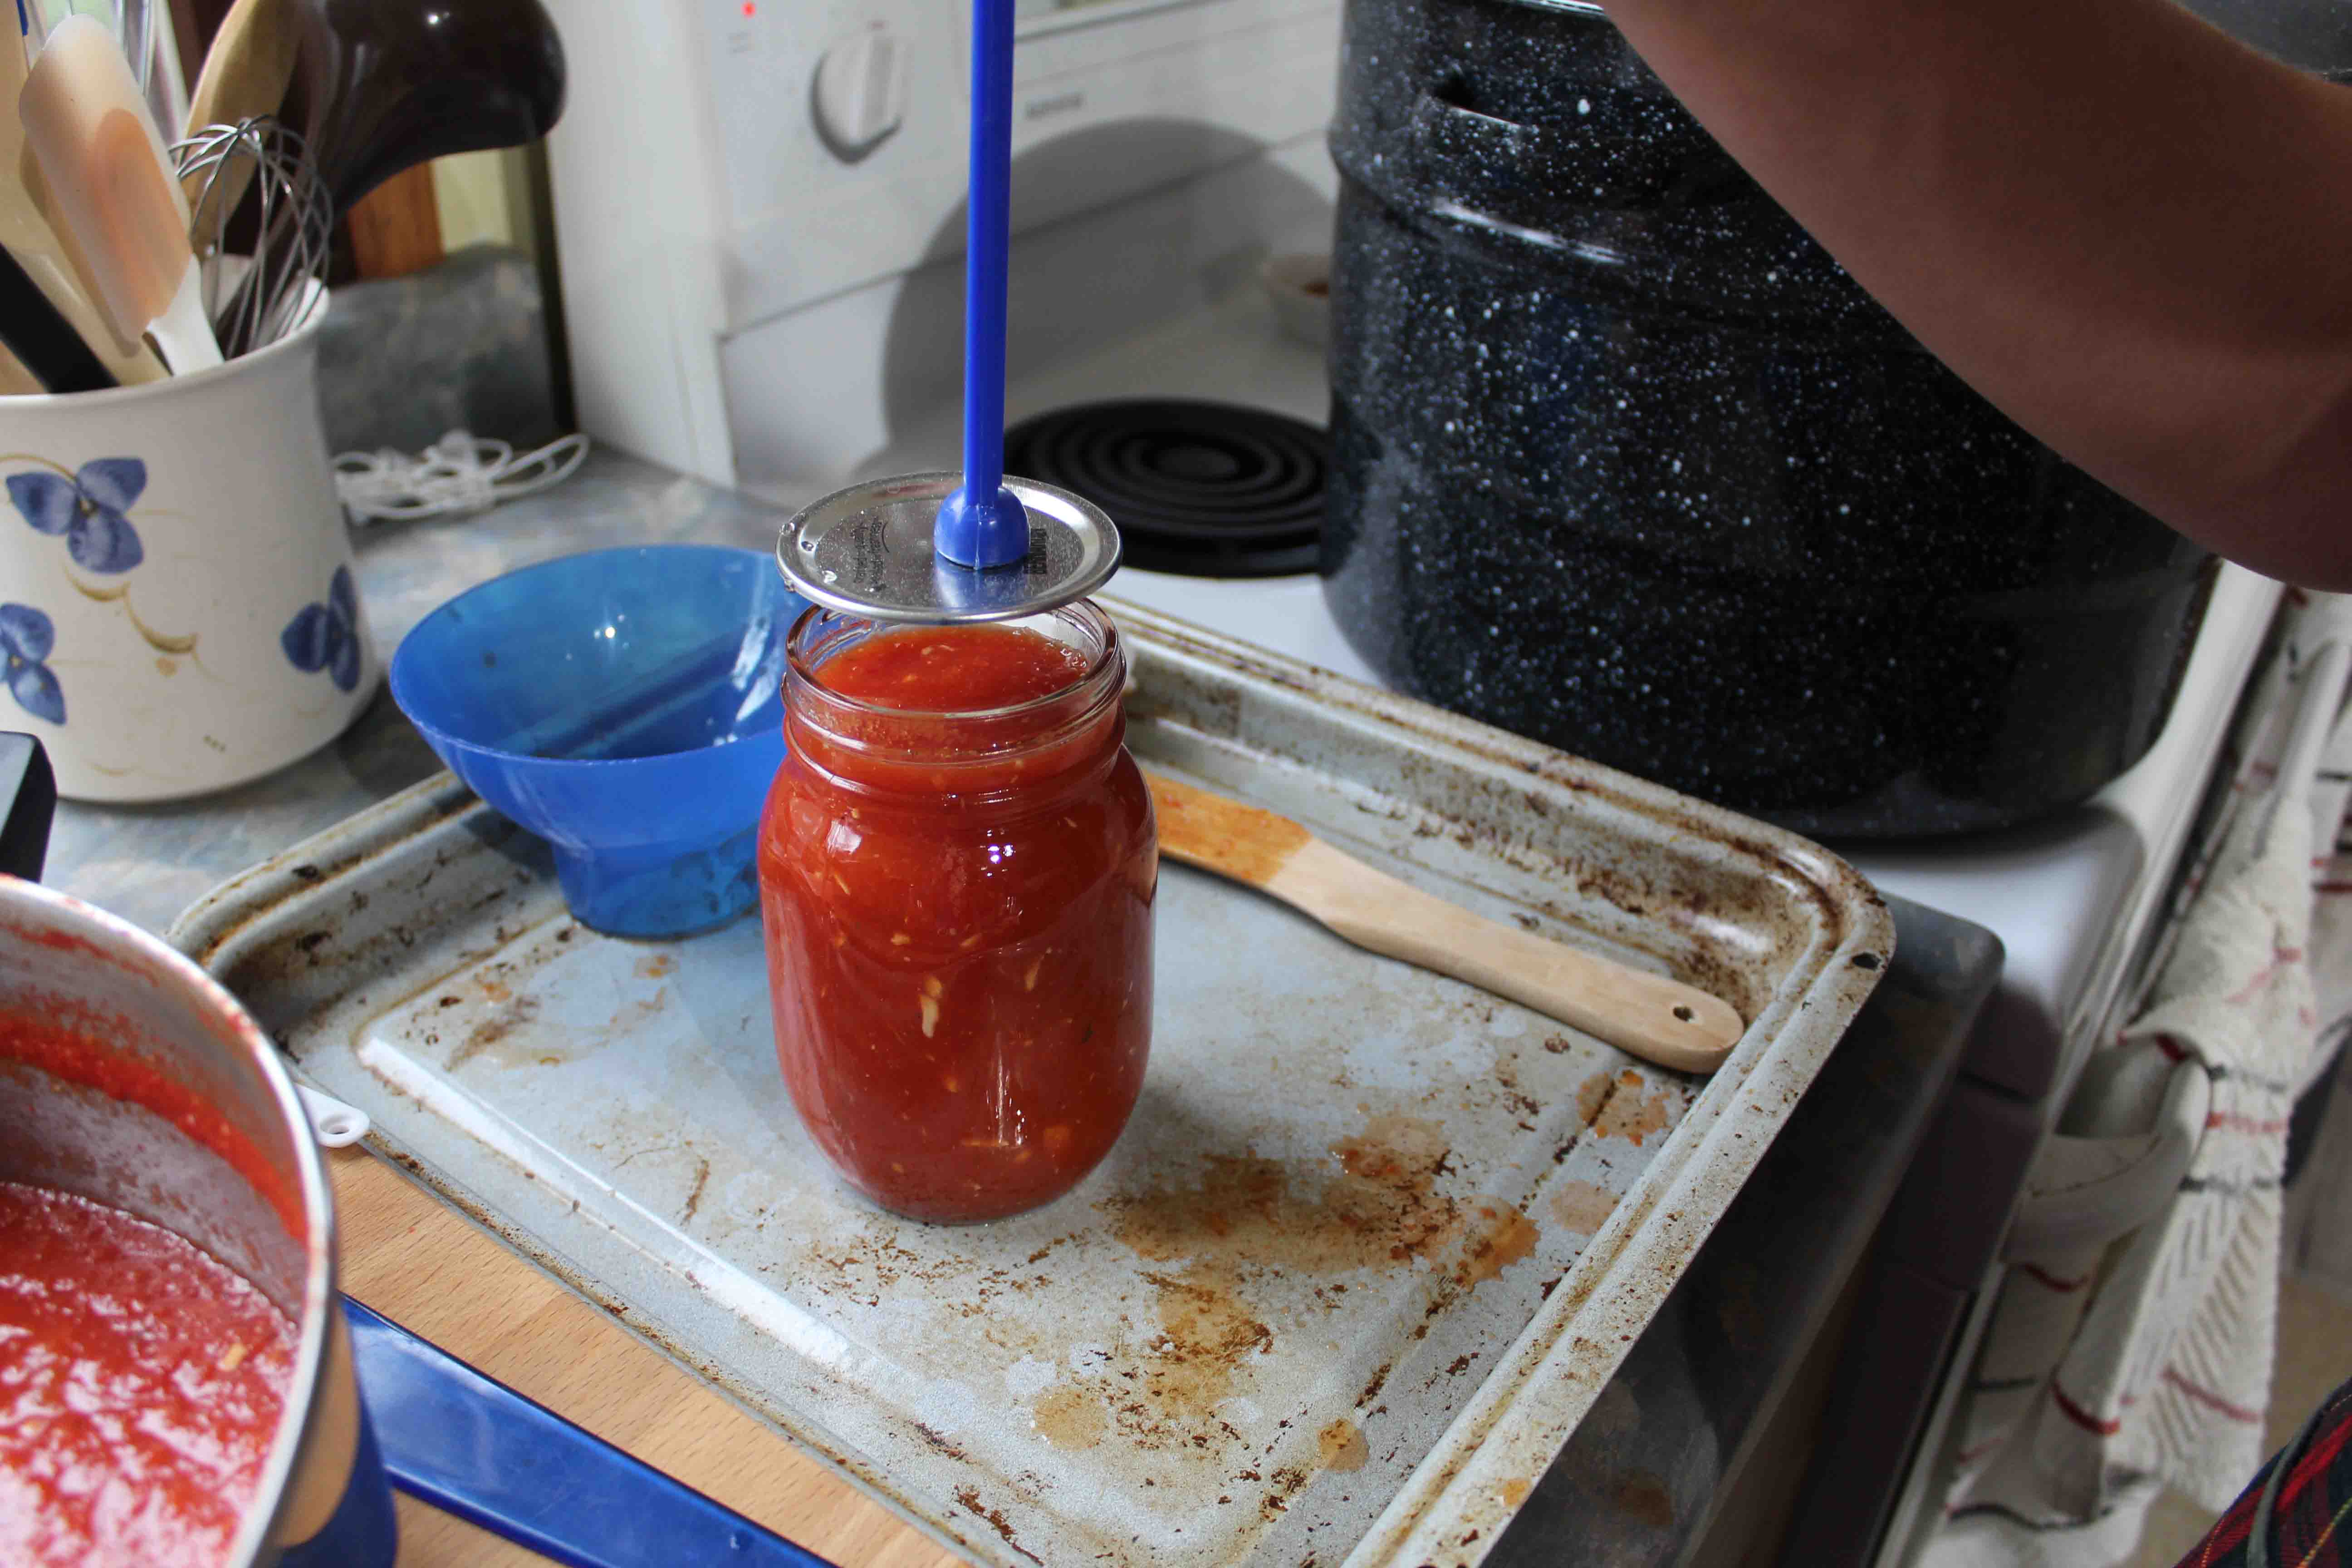
Then screwed a band on, fingertip tight (basically just until you meet resistance, don’t tighten too much!).
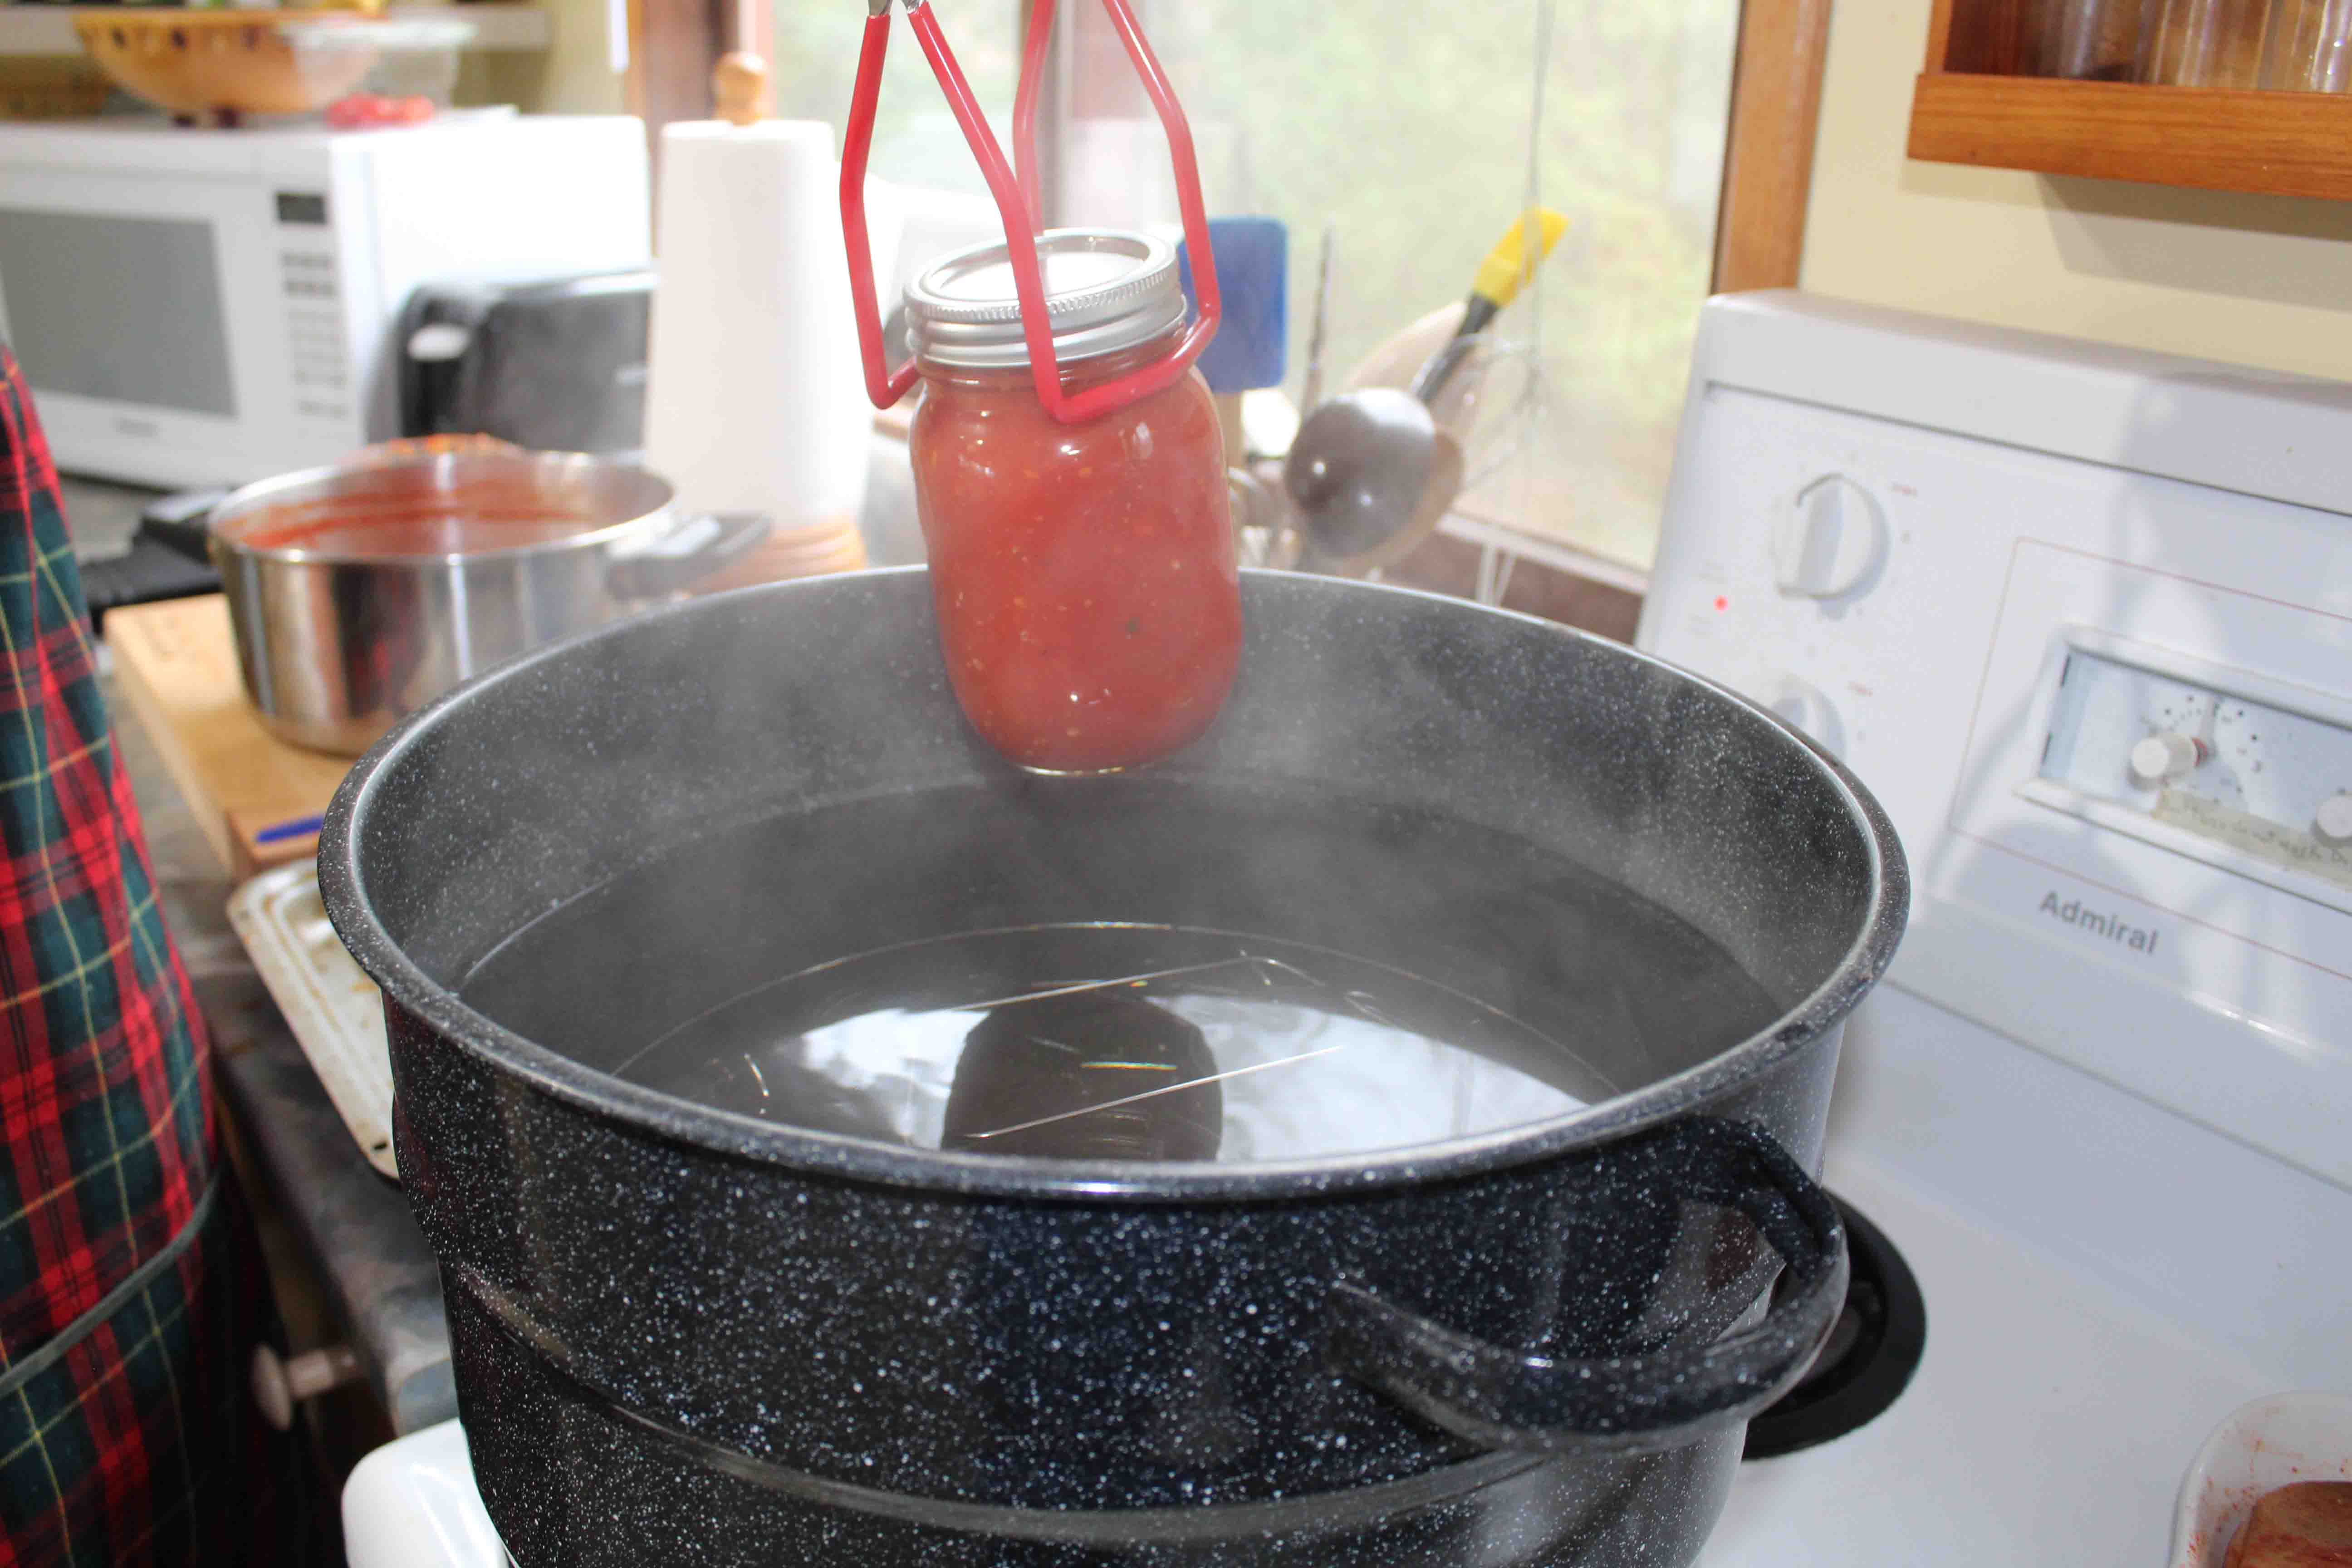
Once the jars were filled, we placed them back into the water, and waited until the water reached a rolling boil. That is when we started the timer for our processing time.
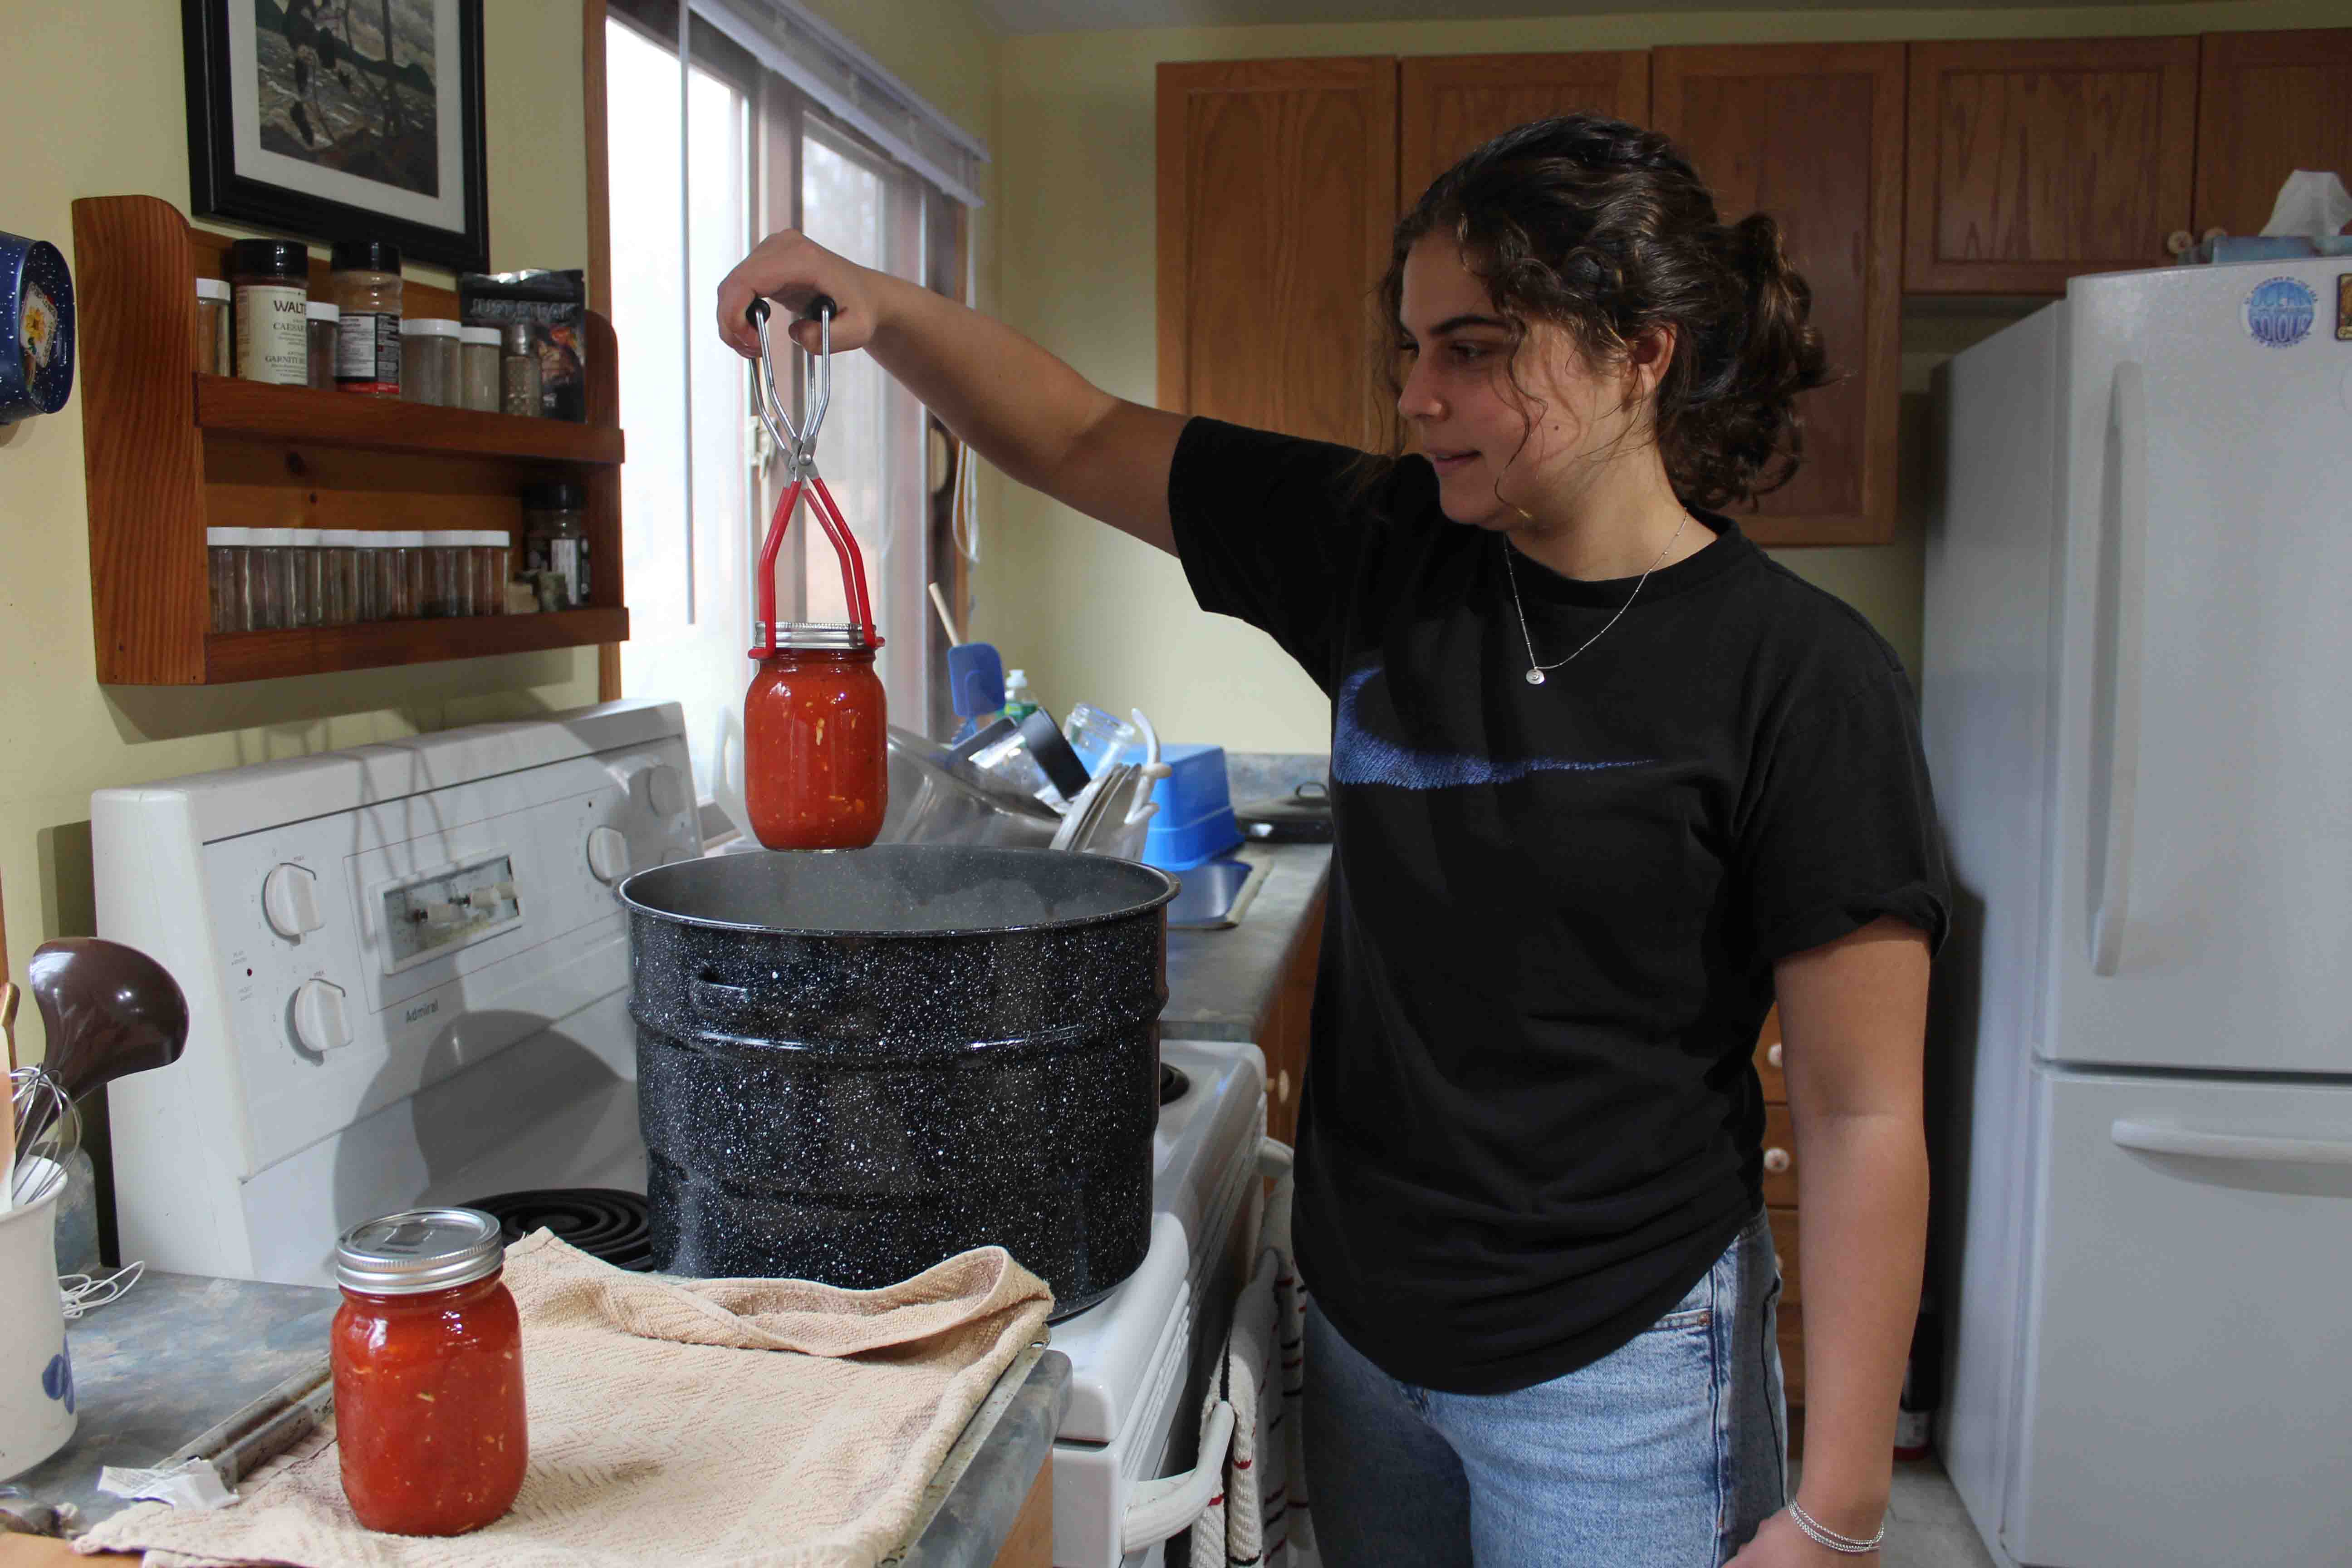
After our 40-minute processing time, we turned off the heat and waited another 5 minutes before carefully removing the jars from the water and placing them on a cloth covered tray.
We then left the jars in the kitchen, in a place without a draft or direct sun, for 24 hours! I heard a few pops, but I didn’t hear every single one pop so I knew that after letting them sit, I would test the seal again by pushing on the lids. I had to be patient though because you aren’t supposed to test the seal until jars are completely cooled. The only thing left to do was clean up the mess and wait!

24 hours later, here is my final product! I really enjoyed this experience, and honestly looking at these beautiful jars is one of the most rewarding feelings. It will be so great to be able to open these throughout the winter and eat homemade sauce made with tasty local ingredients.

If I were going to impart any advice to you if it is your first-time canning, my biggest tip would be: don’t do it alone! Having someone along with me on this journey cut down on the time it took, the work and especially the fear and second guessing. The idea of canning can be scary, but just remember that if you follow the proper steps and a reliable, tested recipe everything will work out. Having someone along with you throughout the process really helps to ease your mind, and it makes it so much more fun!
Another thing I would suggest for you to do before you start, if it is your first-time canning, is watching this video in which Nourish Community Garden Coordinator, Jill Bishop, walks you through the whole canning process. Although in this video she is canning salsa, being able to see someone go through all the steps that should be applied to all water-bath canning recipes can really clear up a lot of uncertainties and make the process go much more smoothly.
Make sure you have a plan! A portion of the work includes figuring out exactly what recipe you want to use, reading it over and making sure you have the equipment and all the necessary ingredients. You don’t want to start before you are sure that every step will go as smoothly as it can.
I won’t lie, canning is a lot of work! But it’s a skill that I’m so happy I have learned how to do. I have a sense of satisfaction knowing that my time and effort will be enjoyed throughout the colder months of winter. It is important to me to be able to have a food skill like this and I really hope that you will try it too! Please visit the canning resources page I developed to find the information I gathered on canning, and for extra guidance.
Happy canning!